In order to make Mobile Checkin more user friendly and as touchless as possible, your local campus checkin iPads can be set to 1 of 3 settings.
- The standard setup: Called [Available].
This setup is what our teams are most familiar with. It contains two buttons on the checkin screen- Touch to Start
- Click for Barcode Scanning
- The touchless setup: Called [Always On].
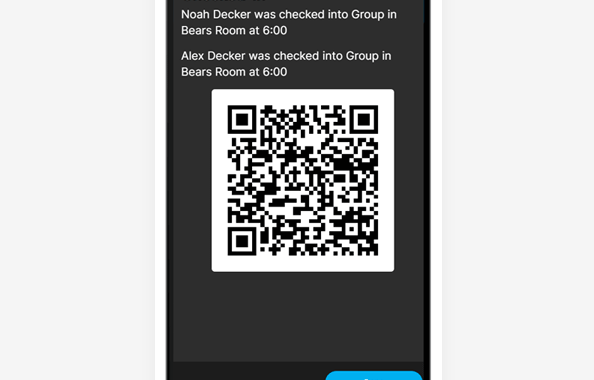
This setup is new to us. This screen only has one button. [Cancel]. The screen is constantly showing the iPad Camera and constantly looking for a barcode to scan. You can click [Cancel] if you want to go back to the home screen and use Name/Phone search. - A passive setup: Called [Passive].
This setup is new to us. This screen looks VERY similar to the setup called [Available]. On this screen you will see the same two buttons; Touch to Start & Click for Barcode Scanning. However this screen will also have the iPad camera on at ALL times. While you will NOT see the camera live on screen… the iPad camera is activated and can scan barcodes while on the touch to start screen.
Each campus can select how they would like each individual iPad set up to serve their DreamTeam and guests best.
Reach out to a Project Manager if you would like your Checkin iPad to be adjusted to one of the above options. If no changes are requested, your checkin iPad will default on the [Available] option.