
If you’re hosting an dinner, meeting or gathering, it can be very important to know how many people plan to attend. The expected attendance can impact things like the location, the refreshments and even how many chairs you’ll need. You may be wondering how Event Registrations or Planning Center come into play. Rock Group RSVP is for when you just need to know who’s coming, plain and simple.
Build an RSVP Group
You can create an RSVP Group by following these steps:
- Rock
- Checkin Central
- Group Viewer
- Campus Events
- Select Your Campus
- Click [+] at the top
- Select [Add Child to Selected]
- Name your group
- Select [Meetings] as your Group Type
RSVP Groups
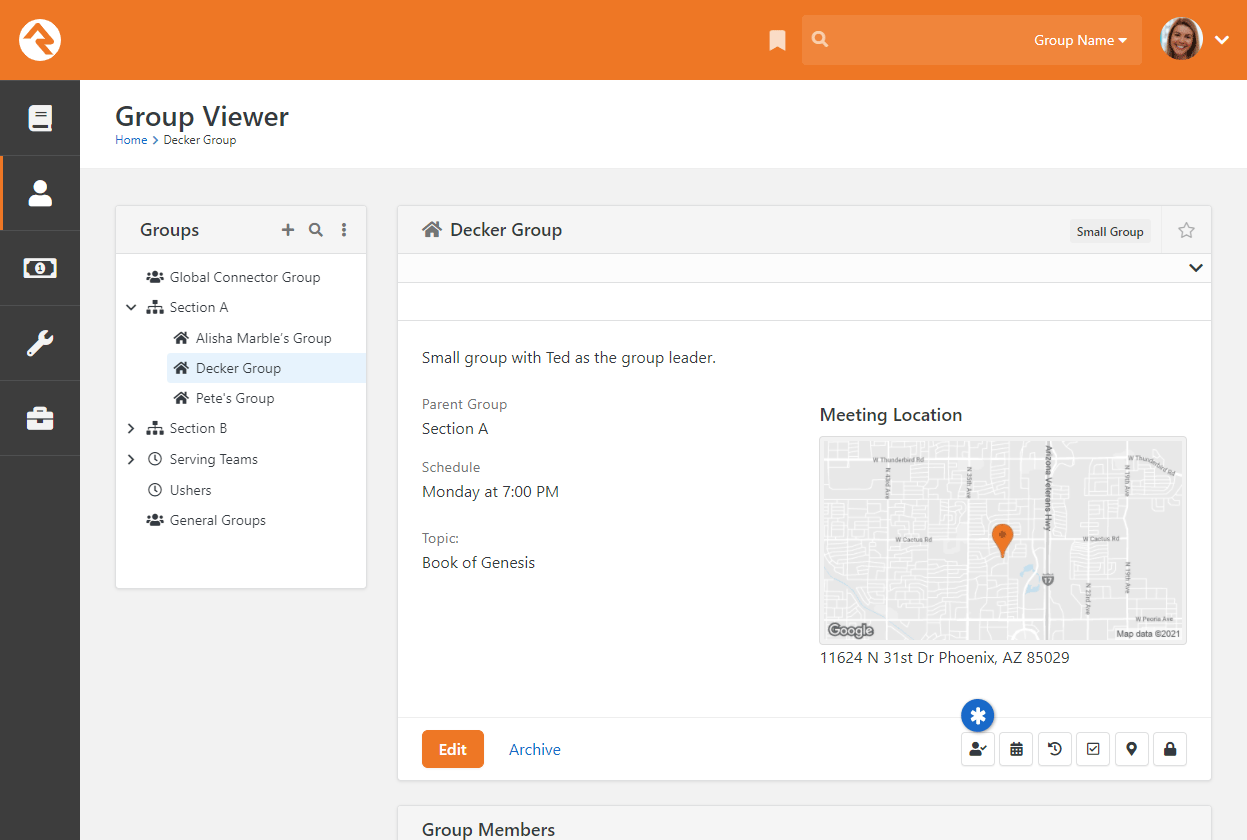
After you’ve built an RSVP group, you’ll see a couple of changes when viewing the group from the Group Viewer page.
First, you’ll notice the addition of a new icon that will take you to the Group RSVP List page, where you can view or add occurrences. We’ll talk more about occurrences in the RSVP Occurrences section below.
Second, you can Edit a group to access the RSVP Reminder System Communication and RSVP Reminder Offset Days for that group. These settings are only available for groups where RSVP has been enabled on the group type.
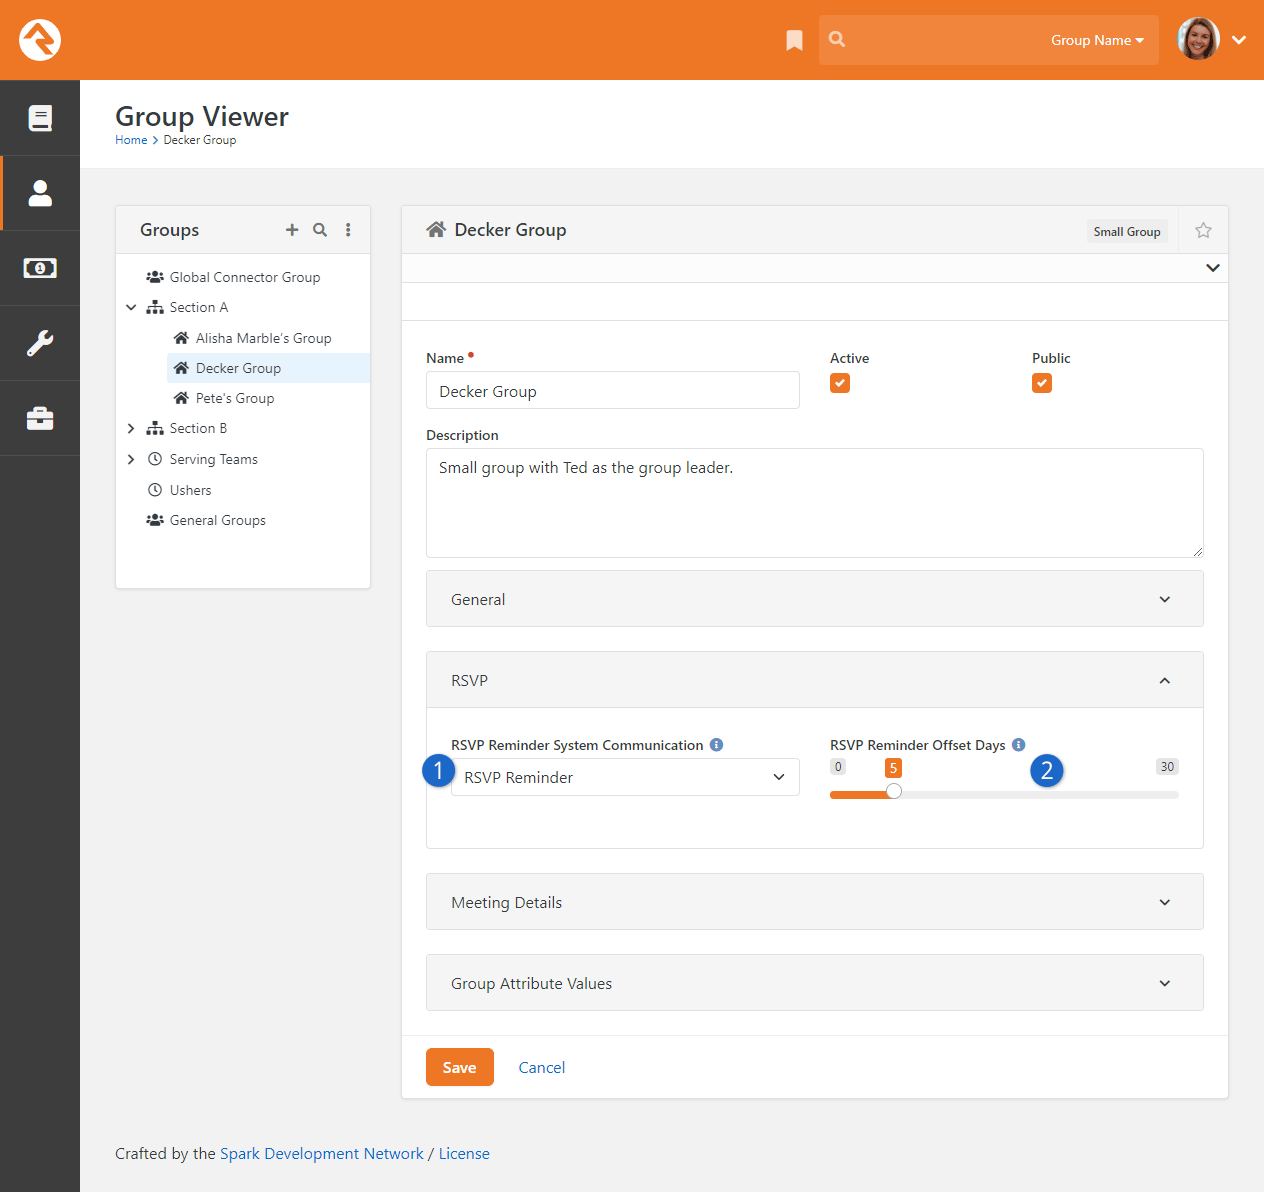
- 1 RSVP Reminder System Communication
- Select the System Communication that should be used to send reminders to invitees who have Accepted. Only communications in the “RSVP Confirmation” category will be listed for selection. If you already set this at the group type level, then you won’t be able to change it here.
- 2 RSVP Reminder Offset Days
- Indicate how many days before the event the reminder should be sent. Like the communication selection, you won’t be able to change the reminder settings for individual groups if they’re already configured for the group type.
Group RSVP List
Clicking the icon takes you to the Group RSVP List page. It will be empty when you first start, but after you add a few occurrences to the list (see RSVP Occurrences) you’ll quickly see how useful this page is. Let’s take a look.
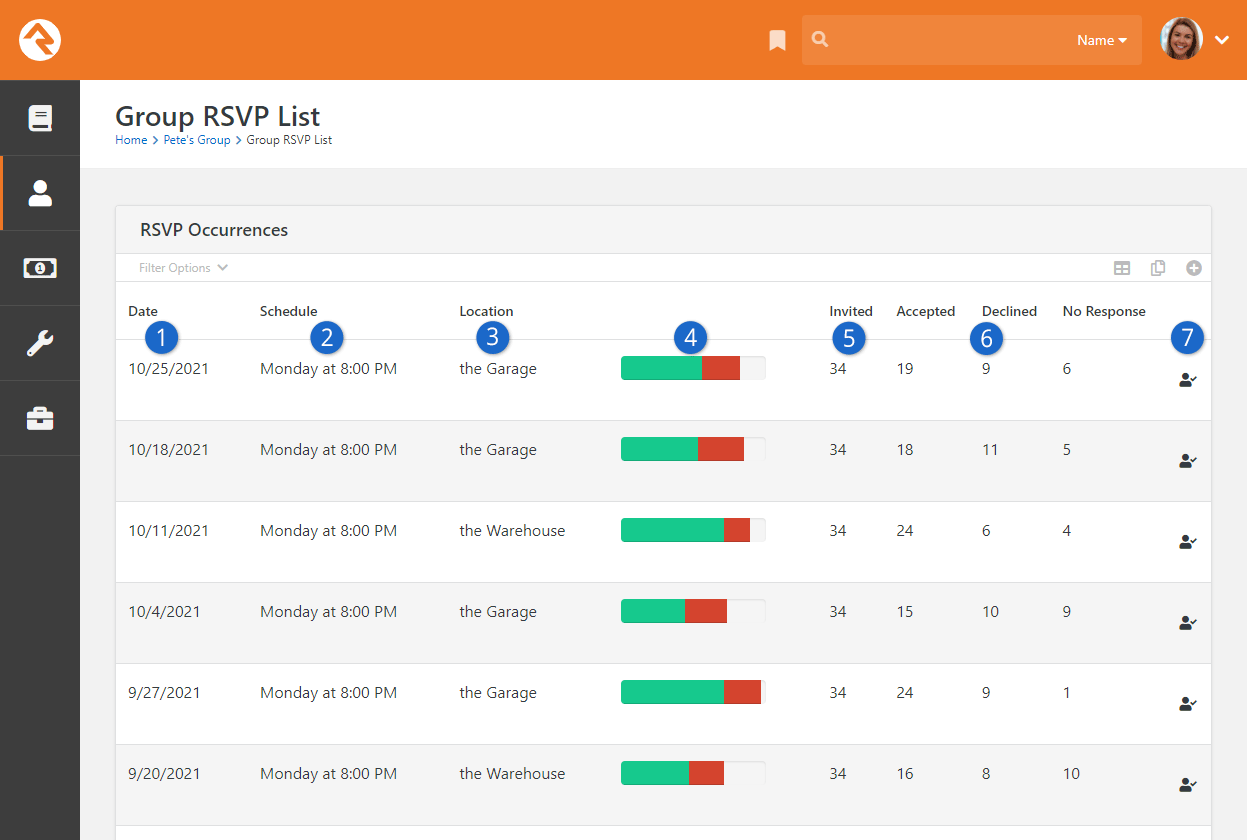
- 1 Date
- The date of the occurrence is shown in the first column. You can use the Filter Options near the top of the block to narrow the list by date.
- 2 Schedule
- The check-in schedule associated with the occurrence, if applicable, is shown here.
- 3 Location
- If a location has been assigned to the occurrence you can see it here.
- 4 Response Progress Bar
- This column gives you a graph of RSVP response data:
- Green = Accepted
- Red = Declined
- Blank/Gray = No Response
- 5 Invited
- You can view the count of all invitees for the occurrence, so you know how many people were invited.
- 6 Response Statistics
- In this part of the block, you can see how many people have replied to the RSVP with either an Accept or Decline, and a count of how many haven’t responded.
- 7 RSVP Detail Icon
- Click the icon to access the RSVP Detail page (see RSVP Detail).
RSVP Occurrences
Let’s look at how to add an occurrence to the RSVP List. You’ll need to have at least one occurrence set up for the group before you can start sending your RSVP emails.
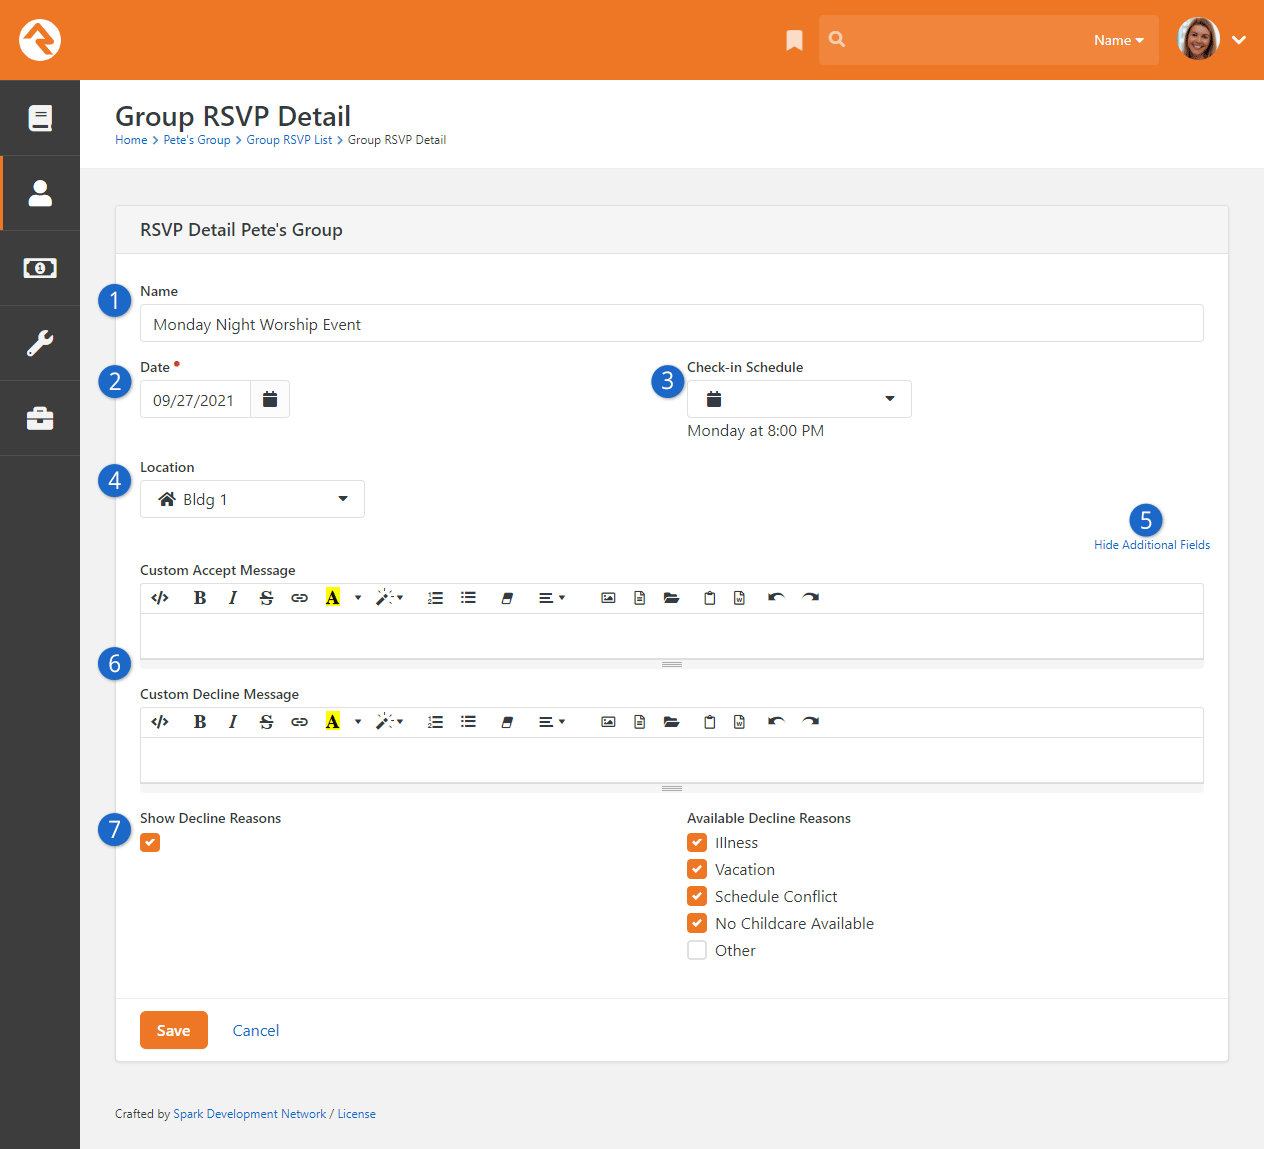
- 1 Name
- You can optionally set a unique name for an occurrence. This applies only to the occurrence being viewed. Invitees will see the name you provide on the external website when they Accept or Decline.
- 2 Date
- Set the date of the occurrence.
- 3 Check-in Schedule
- Choose the check-in schedule associated with the occurrence, if applicable.
- 4 Location
- Select the location of the occurrence.
- 5 Show/Hide Additional Fields
- Click Show Additional Fields to reveal the settings for custom messages and decline reasons (listed below).
- 6 Custom Accept/Decline Messages
- You can customize the message invitees see when they respond to your RSVP request. We’ll show you what that looks like in the Responding to RSVP Requests section.
- 7 Show Decline Reasons
- If the Show Decline Reasons box is selected, then invitees can give a reason for declining. You can choose which reasons are available to invitees from the list of Available Decline Reasons.
RSVP Email Requests
Now that we have an occurrence set up, we’re ready to send out some invitations.
Adding an RSVP request to an e-mail is as simple as clicking and dragging the RSVP tool button (look for the icon) into your email. If you’re not sure how to get to this point, check out the Communication Wizard section in the Communicating With Rock guide.
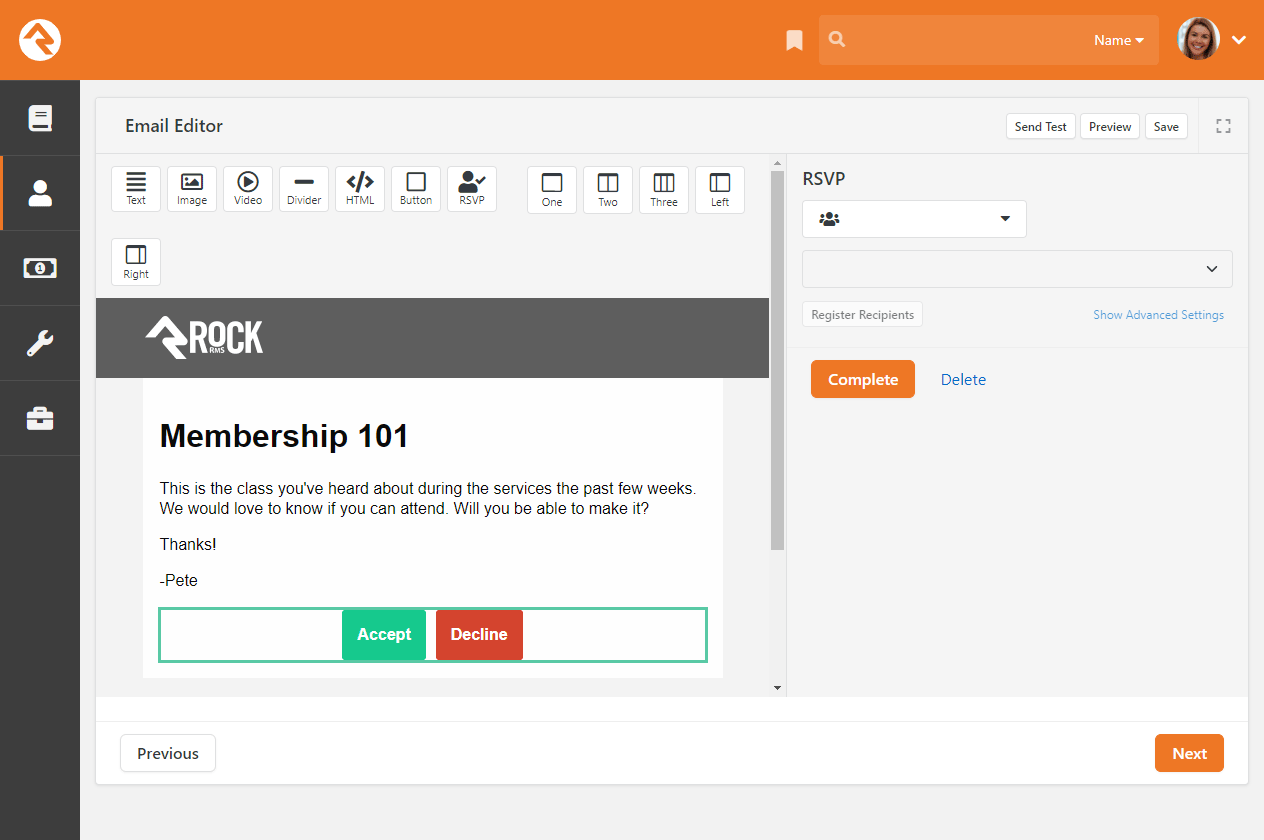
After the RSVP buttons have been added to the body of your email, use the panel on the right to select the group and occurrence.
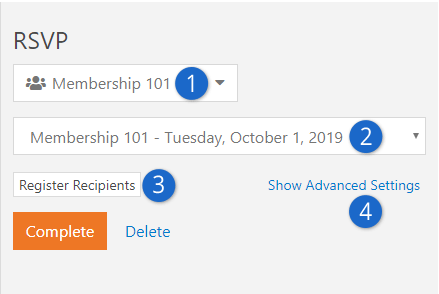
- 1 Select Group
- Choose the group associated with the occurrence. Only group types with RSVP enabled will be in the list of options.
- 2 Select Occurrence
- Pick the occurrence for which you want to send an email. The RSVP responses you receive will be for this occurrence.
- 3 Register Recipients
- Click the Register Recipients button to keep track of RSVP data for all the recipients of your email. If this button isn’t used, only people who have responded to your RSVP request will appear in the RSVP List or RSVP Detail pages.
- 4 Show Advanced Settings
- You can use the advanced settings to customize how the RSVP buttons are shown to invitees.
RSVP Detail
Now that we’ve sent our email, we need to monitor the responses. We’ll do this from the RSVP Detail page, which you can get to by clicking an occurrence from the RSVP List page.
The detail block at the top of the RSVP Detail page shows the occurrence details and a graph of responses. The list block at the bottom of the page shows your invitees and their responses.
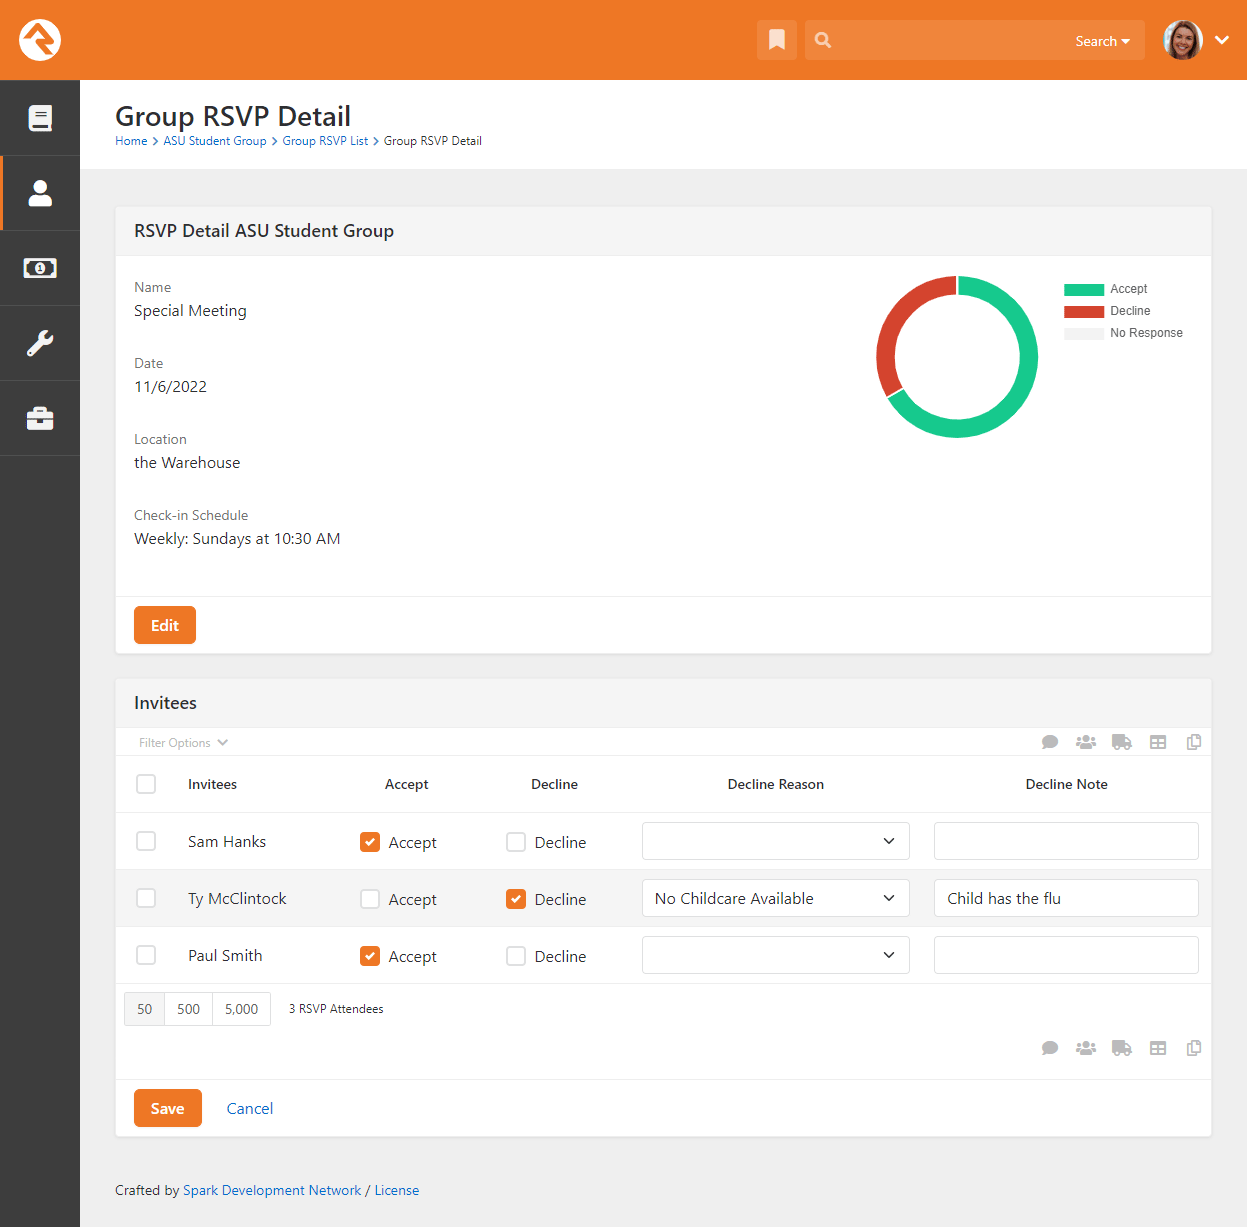
Not only can you view responses, but you can also update responses or add decline notes if you need to. This ensures you always have accurate information, especially if the invitee responds (or changes their response) by phone or in person.
If you didn’t turn on the Show Decline Reasons option for the occurrence, then the Decline Reason and Decline Note columns won’t be shown.
Missing Invitees?
If you used the Register Recipients button when sending your email, then everyone from your email will be on this list. Otherwise, you’ll only see people who have responded.
Responding to RSVP Requests
It may be helpful for you to know what individuals will be seeing and doing after they receive your RSVP email.
Clicking either Accept or Decline in the email will bring the invitee to your external site. What happens at that point depends on how you’ve set up your group, occurrence and email.
Accept
Invitees will be taken to your website after clicking “Accept” in the RSVP email they received. If you’ve attached any public member attributes to your group, then invitees will be asked to provide additional information (i.e., attribute values) accordingly.
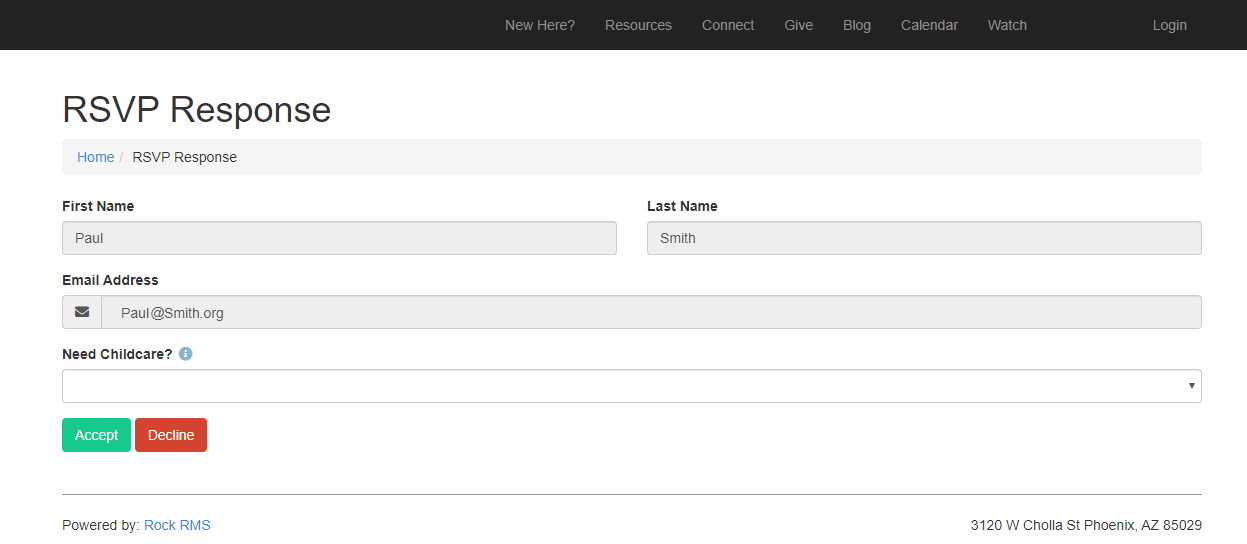
After the invitee clicks the Accept button on the page pictured above, they’ll be brought to the acceptance confirmation page pictured below.
If you didn’t add any public member attributes to your group, then the above page is skipped because there is nothing else the invitee needs to provide. Instead, invitees will be taken directly to the acceptance confirmation page pictured below when they click “Accept” from the RSVP email.
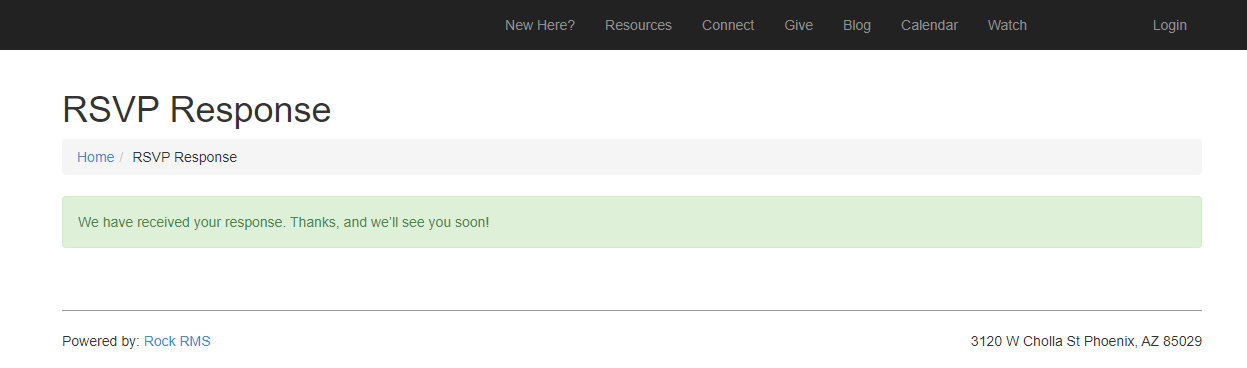
The generic acceptance message pictured above can be customized if desired (see RSVP Occurrences).
Accepts Become Group Members
Rock will always add a person who accepts the RSVP into the group as a group member. This is especially needed when, for example, group member attributes are used. If an individual declines the RSVP invitation, they won’t be removed from the group.
Decline
Just like clicking Accept, you control what happens when a person clicks Decline.
If the person declines, and if you enabled decline reasons, then they’ll be asked to provide a reason.
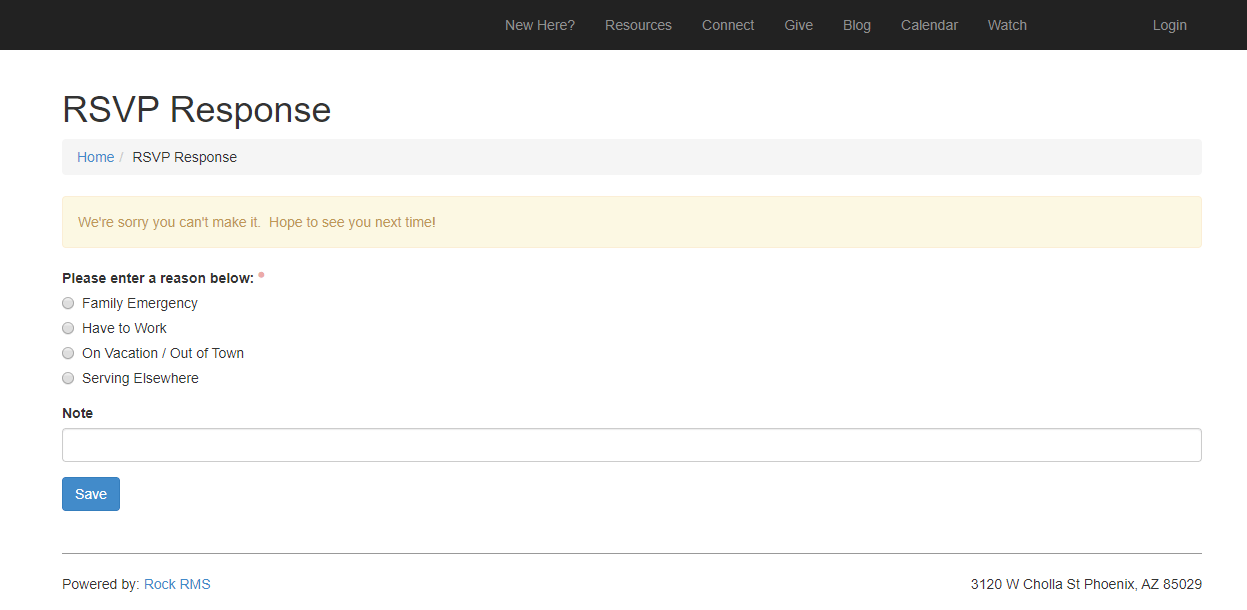
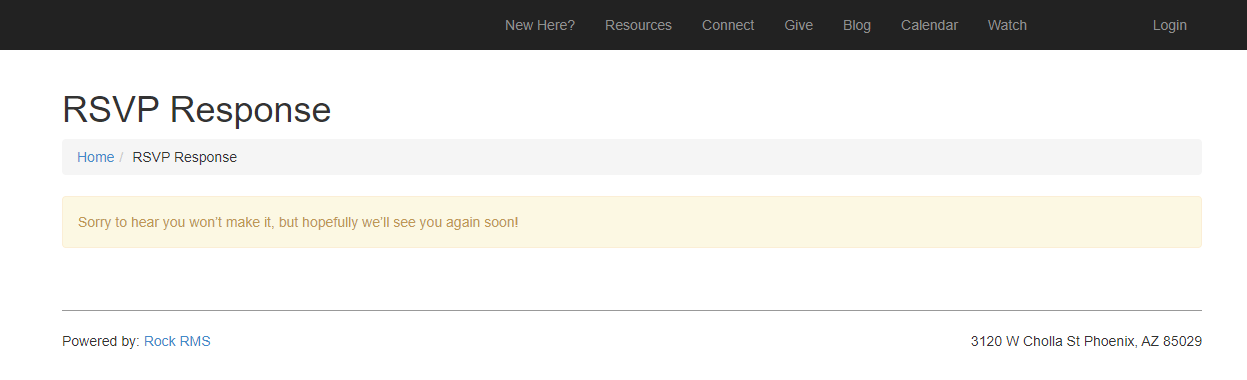
In the above example a custom decline message is displayed near the top of the block. If you didn’t customize your decline message, then the generic message (pictured below) will appear instead.
If you didn’t enable decline reasons, then the invitee will be taken directly to the page below from the email.
Group RSVP Reminders
RockRMS will send a reminder to people who have accepted an RSVP invitation. Those who have declined or who haven’t responded won’t receive a reminder.