
Sometimes we find it helpful to build a Group in rock to allow users to RSVP for a meeting or gathering. Examples might include DreamTeam Leader meetings. These types of groups can be found in Rock:
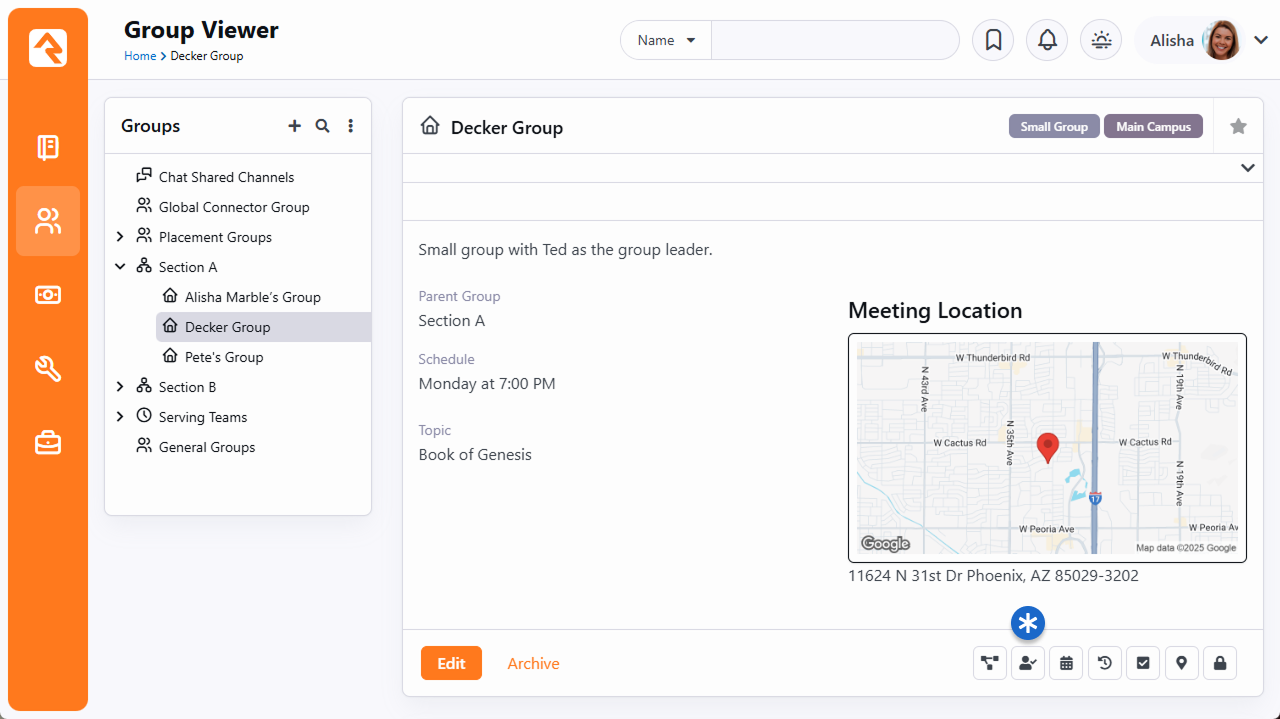
> Checkin Central
> Group Viewer
> Campus Events
> Select your campus
Groups type is most often: [ Meeting ]
If you would like more direction on how to set up your group see this protip.
Today, however, we want to let you know about group occurrences.
Did you know that you do not need to build a new group each time the group is going to have a meeting/gathering?
Instead, you can add a new ‘occurrence’ of the group. A group occurrence allows you to set up a separate accept/decline rsvp for each time the group is planning to meet.
Here are some instructions to get you started:
Group RSVP List
Clicking the icon takes you to the Group RSVP List page. It will be empty when you first start, but after you add a few occurrences to the list you’ll quickly see how useful this page is. Let’s take a look.
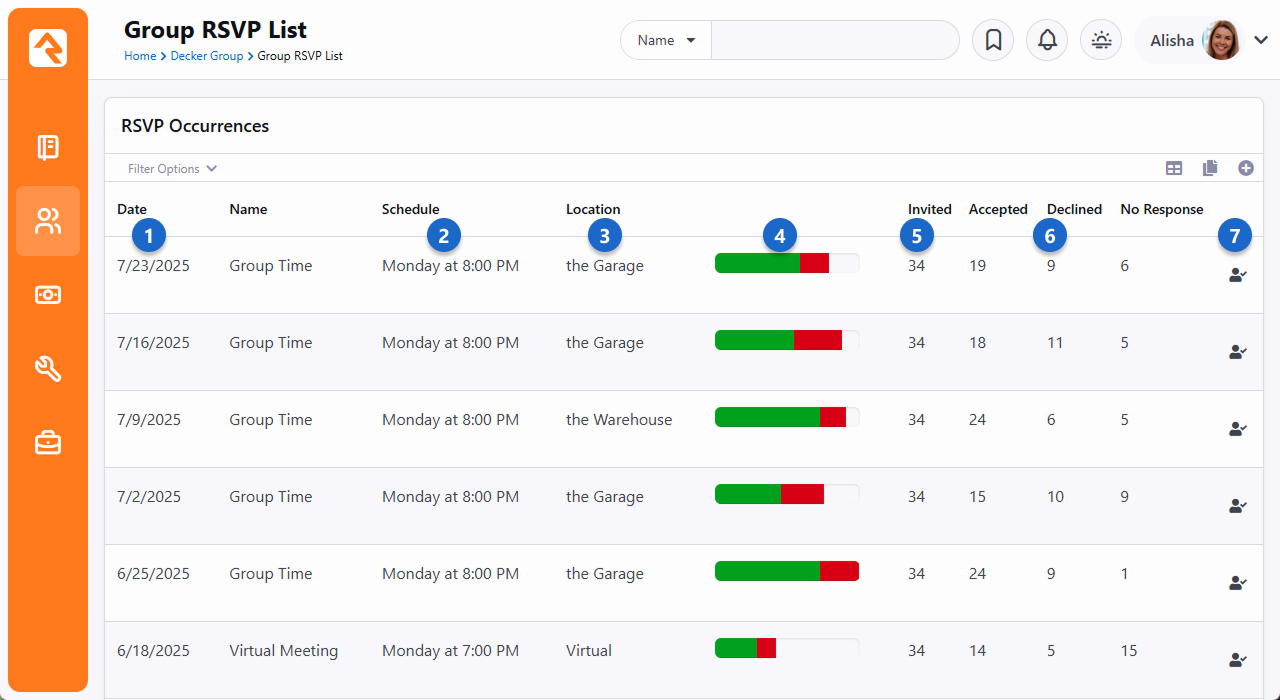
- 1 Date
- The date of the occurrence is shown in the first column. You can use the Filter Options near the top of the block to narrow the list by date.
- 2 Schedule
- The check-in schedule associated with the occurrence, if applicable, is shown here.
- 3 Location
- If a location has been assigned to the occurrence you can see it here.
- 4 Response Progress Bar
- This column gives you a graph of RSVP response data:
- Green = Accepted
- Red = Declined
- Blank/Gray = No Response
- 5 Invited
- You can view the count of all invitees for the occurrence, so you know how many people were invited.
- 6 Response Statistics
- In this part of the block, you can see how many people have replied to the RSVP with either an Accept or Decline, and a count of how many haven’t responded.
- 7 RSVP Detail Icon
- Click the icon to access the RSVP Detail page.
RSVP Occurrences
Let’s look at how to add an occurrence to the RSVP List. You’ll need to have at least one occurrence set up for the group before you can start sending your RSVP emails.
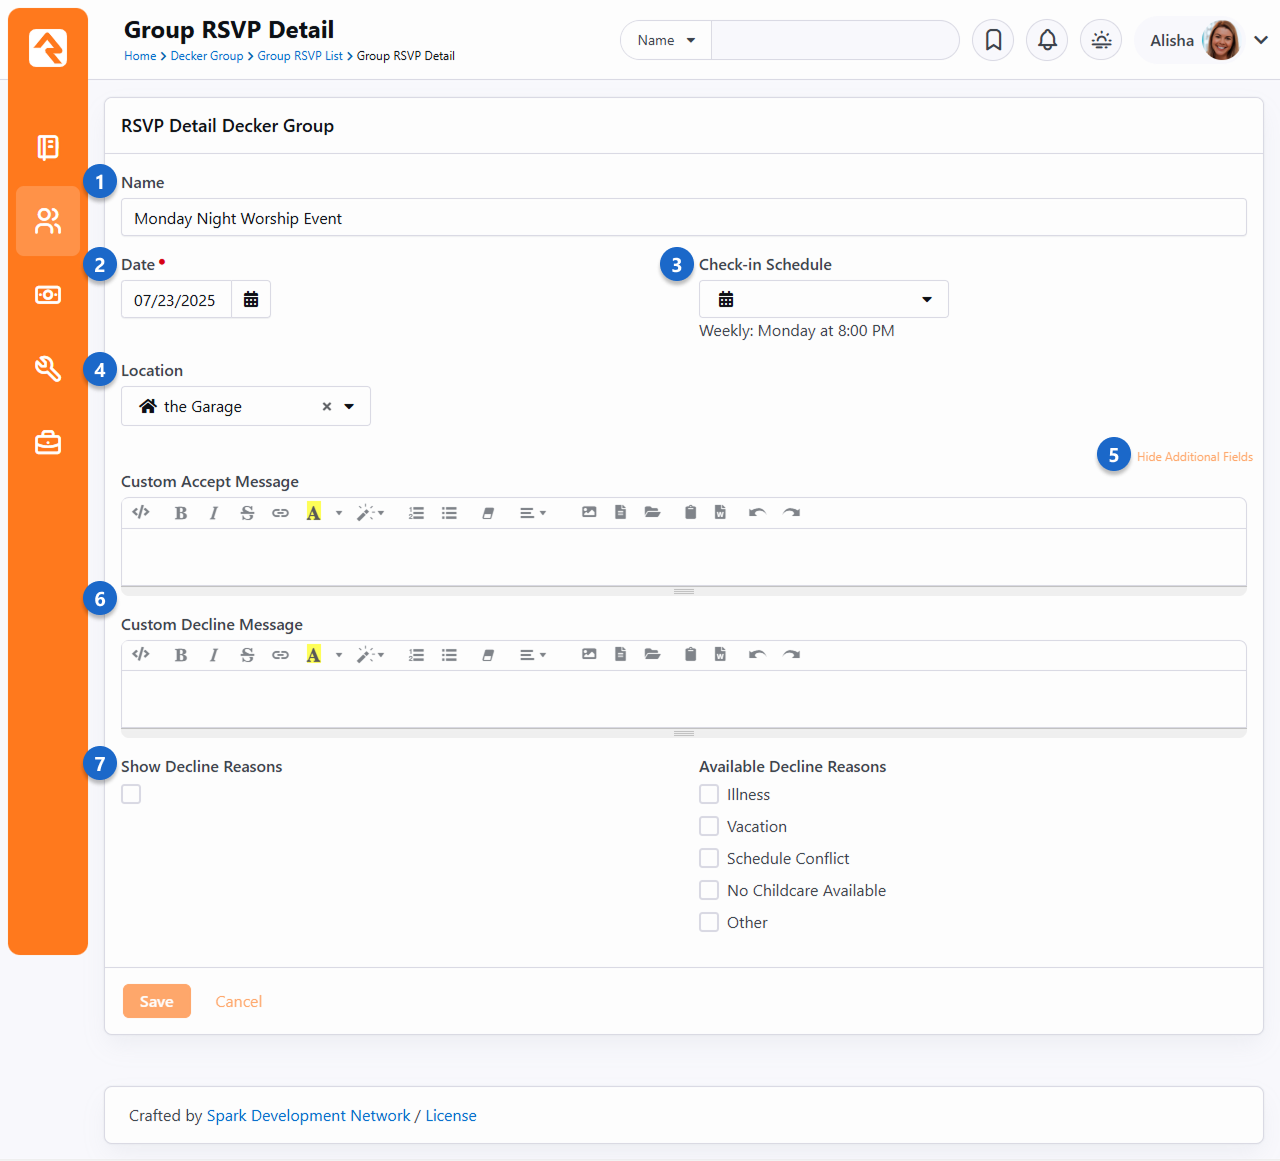
- 1 Name
- You can optionally set a unique name for an occurrence. This applies only to the occurrence being viewed. Invitees will see the name you provide on the external website when they Accept or Decline.
- 2 Date
- Set the date of the occurrence.
- 3 Check-in Schedule
- Choose the check-in schedule associated with the occurrence, if applicable.
- 4 Location
- Select the location of the occurrence.
- 5 Show/Hide Additional Fields
- Click Show Additional Fields to reveal the settings for custom messages and decline reasons (listed below).
- 6 Custom Accept/Decline Messages
- You can customize the message invitees see when they respond to your RSVP request. We’ll show you what that looks like in the Responding to RSVP Requests section.
- 7 Show Decline Reasons
- If the Show Decline Reasons box is selected, then invitees can give a reason for declining. You can choose which reasons are available to invitees from the list of Available Decline Reasons.
Decline Reasons
The list of Available Decline Reasons can be maintained from the Admin Tools > General Settings > Defined Type list under Group RSVP Decline Reason.