Earlier this year we hosted a CreekHelp Academy course on Teamwork. One of your biggest takeaways was that you can create tasks in Teamwork by emailing them in. Here is a quick reminder on how to do that.
Teamwork posted this article in April 2021.
Within Teamwork, you can create tasks in your projects via email.

In the List area of your project, click the options button (three dots) in the top right and select Post Tasks via Email from the dropdown menu.

In the post via email modal, click the Copy button to the right of the email address.
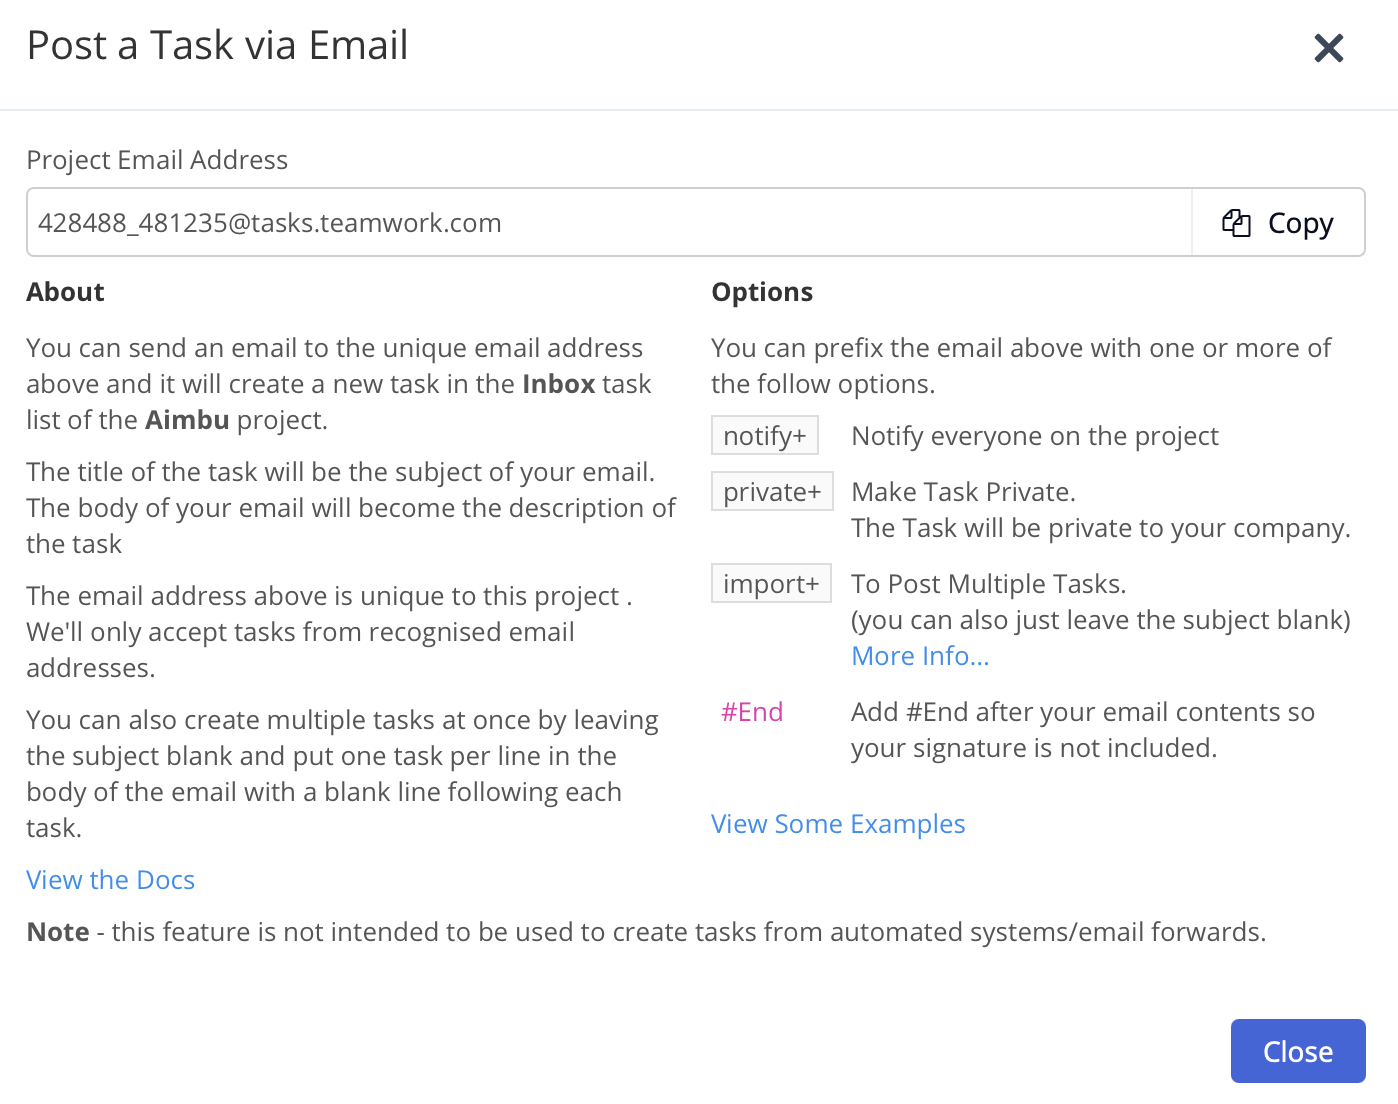
By default, tasks created via email will be added to an Inbox task list when using the project email address.
However, you also have the option of specifying an existing task list by adding
[#Task List Name] or (Task List Name) to the subject line of your email.If you use a task list name that does not match an existing task list, the task will be sent to the Inbox list.
Note: Do not use the item-via-email address feature to post from automated systems that could generate hundreds of messages/files/notebooks etc. Abuse of the via-email feature will result in suspension of the feature from your account.
Posting tasks to a specific task list
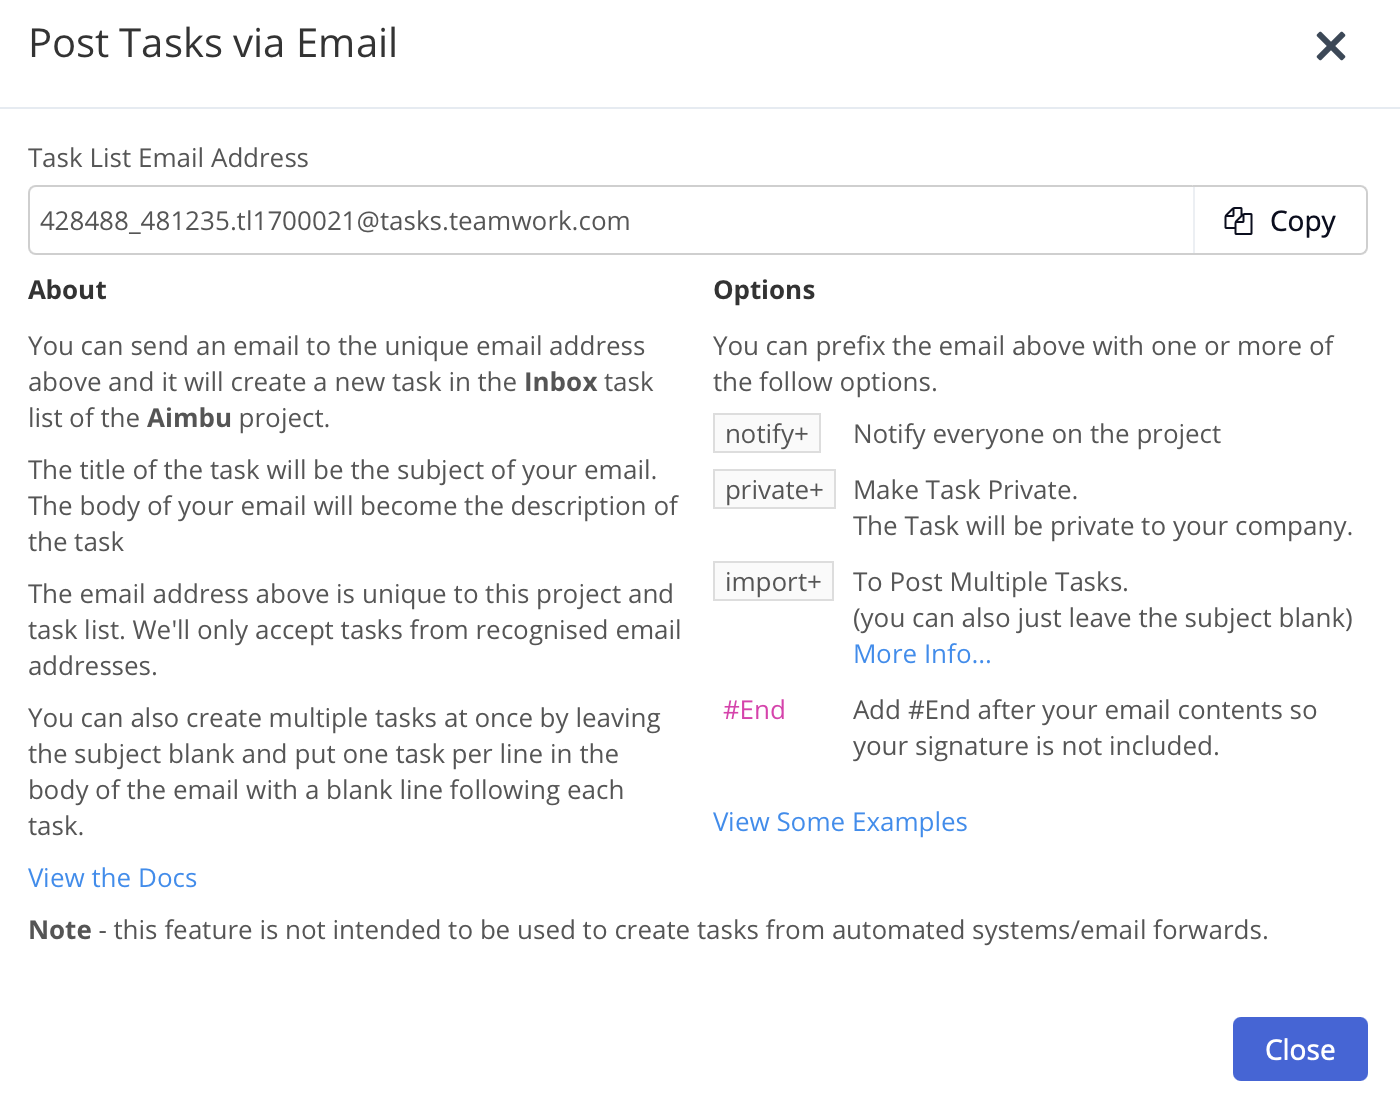
You can also post tasks directly to an individual task list. To access the task list email address, hover over the task list name and click the three dots to the right. From the dropdown menu, select the Post Tasks via Email option.
In the post via email modal, you can copy the task list email address.
Creating a single task
To create a single task, put the task title in the subject line of your email. Anything in the body of the email will be added into the task description. Attached files will be attached to the task when created.
Creating multiple tasks
To create multiple tasks, leave the subject blank and put each task on a new line in the body of the email with a blank line following each task.
To add a short description, put it in curly braces when creating multiple tasks e.g: {quick description}.
- Line breaks are not allowed so keep it all on one line.
To add tasks and subtasks use the #option before the text on the next line and a subtask will be created.
Example (to be added to the email body):
Task number 1 {quick description}
# @John Title of subtask 1 {quick description}
# Title of subtask 2 {quick description}
Task number 2 {quick description}
Note: When creating multiple tasks, attached files will not attach to any task and will be ignored.
Assigning tasks to users and notify them
You can use the @person shortcode in the subject line, or in each line of the email body if there are multiple tasks, (e.g: @dan @peter) to assign a task to a person on the project.
The @mention can be the login name or a combination of firstname & lastname. For example: A user called “Daniel Mackey” with a login “dmackey” can be “mentioned” by @dan, @daniel, @danielmac, @danielmackey or @dmackey
- You can append notify+ to the email address to send a notification email:
- e.g. notify+00000_00000@tasks.teamwork.com
- We also support notify+ in the email subject.
- We do not notify the user creating the task by email.
- If the task is assigned to a set of people only those people are notified.
- If the list the task was added to has task list defaults then these assignees are respected.
- If the list the task was added to is private then only people who can see that list will be notified.
Setting privacy and priority
Append private+ to the email address to make the tasks private:
- e.g. private+00000_00000@tasks.teamwork.com
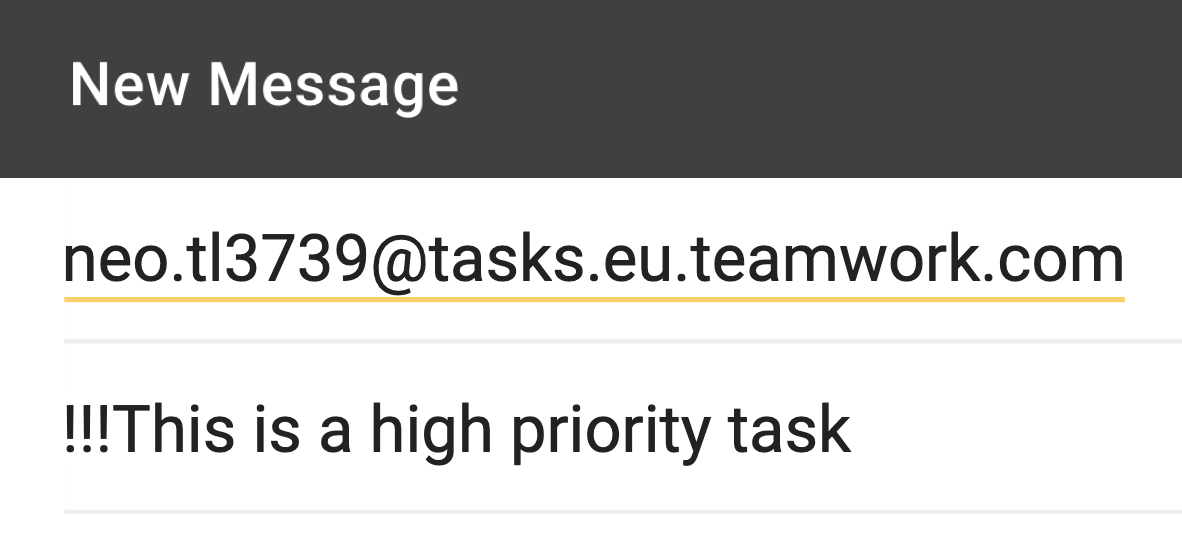
You can set the priority of tasks by adding a number of ! characters to the task:
- ! = Low Priority
- !! = Medium Priority
- !!! = High Priority
We also support the priority header added by email clients when you mark an email as important.
Setting start and due dates
You can specify a due date by including the date in square brackets within the subject line. Use the date format that is set in your Teamwork localization preferences.
- [22/03/2019]
- [today]
- [next week]
- [friday]
You can specify a start date by including two date directives. The earliest date will become the start date and the latest date will become the due date.
[today] [next monday] This task will start today and is due next week.
[16/12/2019][22/12/2019] – Start on Dec 16th and will be due Dec 22nd.
Note: When setting a start date and due date, the system will automatically use the later date entered as the due date.