VPN Connection
If you have a Windows PC and you need access to the Company folder or your Home folder (FirstL) from off-site, you are able to connect from any outside internet provider via VPN by installing a VPN software client and following the instructions below.
1) Email Admin@cedarcreek.tv from your Creek email and ask for VPN access. Once it has been set up, you will be emailed back three things you will need for the rest of this configuration: Name, Password, Pre-Shared Key. After you have those, proceed to step 2.
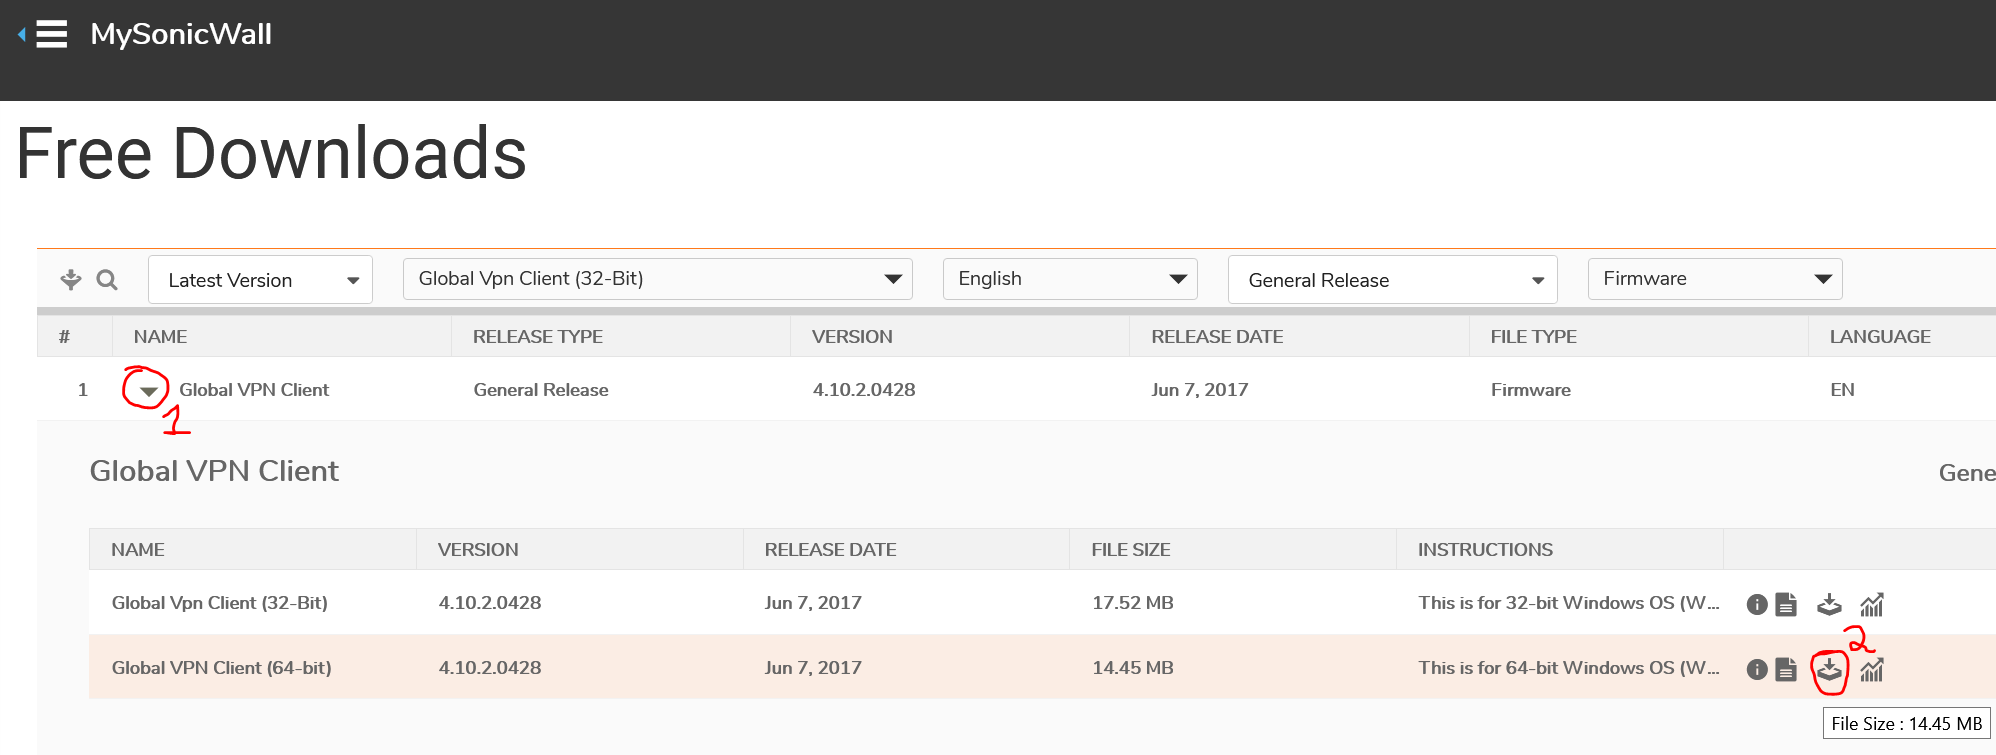
2) Go to https://www.mysonicwall.com/muir/freedownloads and click the drop-down arrow on the left next to “Global VPN Client” and then choose the download icon (down arrow into a box) for the 64bit Windows Client.
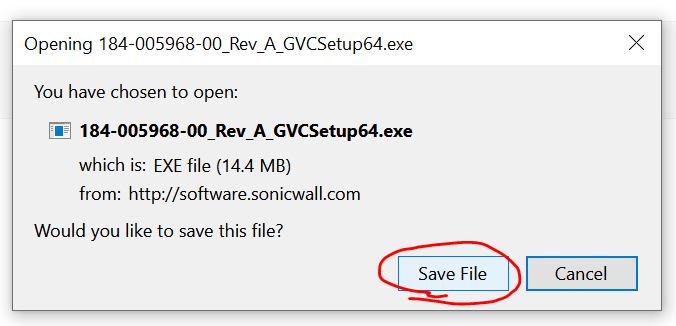
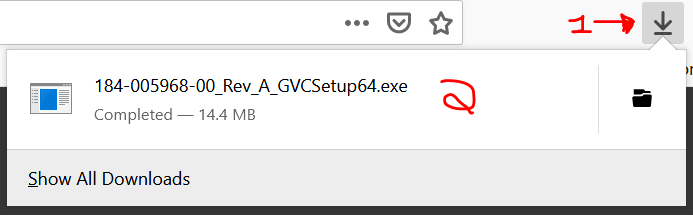
3) This step is shown on Firefox, but in whatever method your browser of choice uses, save the file and then click to run the downloaded program.
4) Run through the installer with default options and it will ask you to reboot your PC. Do this. It is required to install the network drivers needed for the VPN to work.
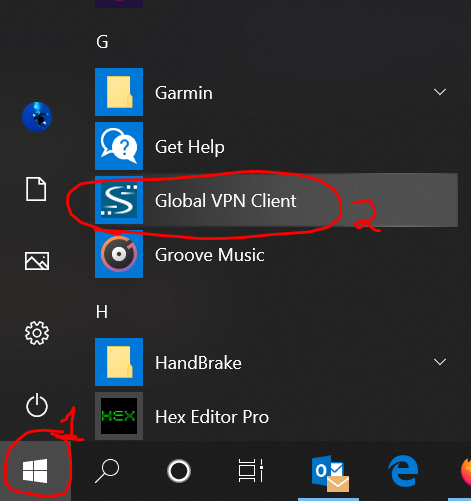
5) Once you have rebooted and are logged in, click the start menu and choose to run the Global VPN Client.
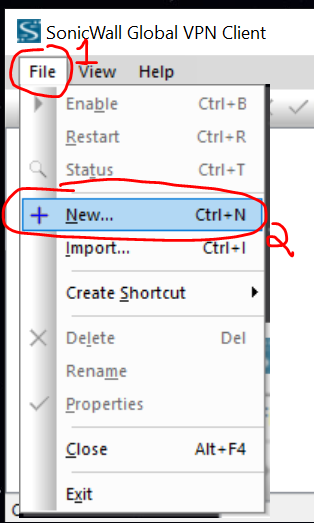
6) If the wizard doesn’t launch (it should), click on “File – New” to create a new connection.
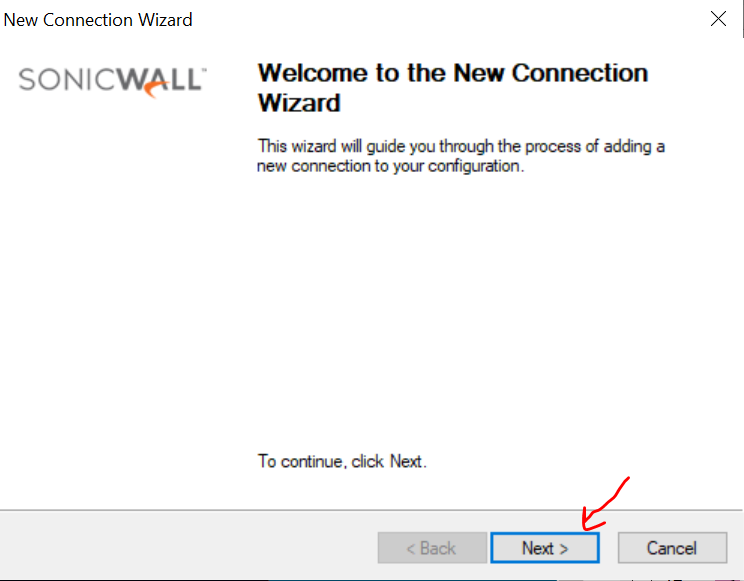
7) Choose Next on the newly launched Connection Wizard.
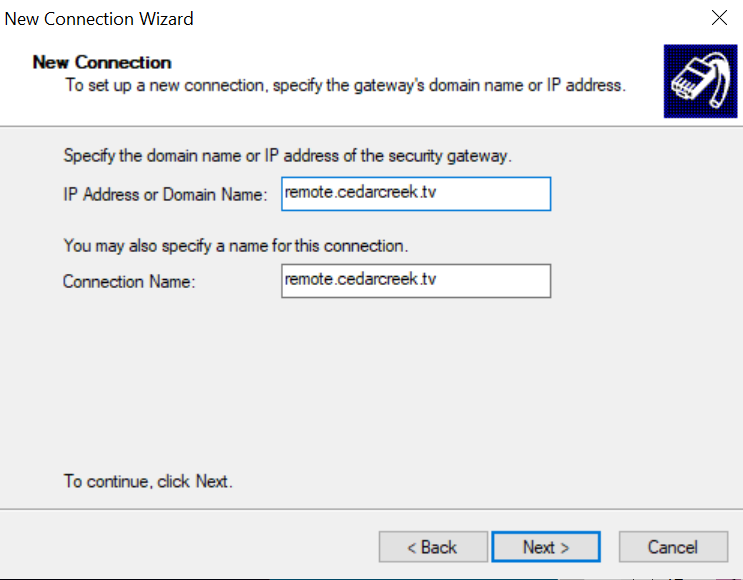
8) Enter “remote.cedarcreek.tv” for the IP Address (it will auto-fill the 2nd field to match) and hit Next.
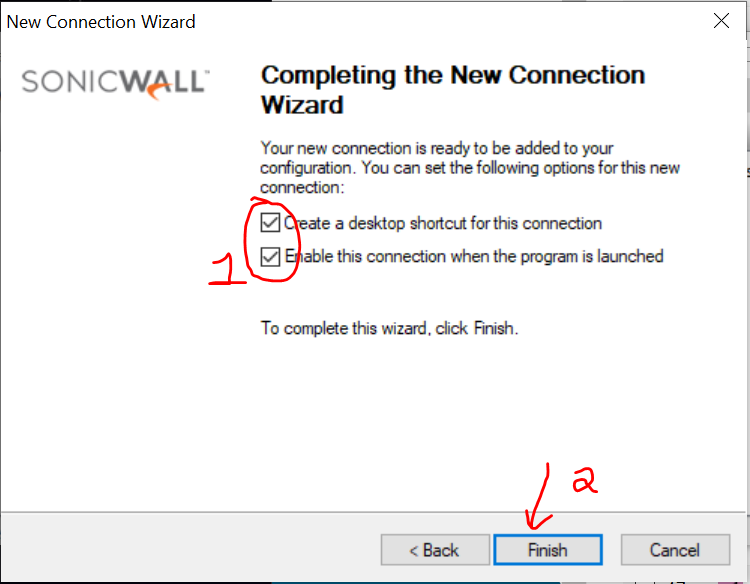
9) Check both boxes if desired on the next step and then hit Finish.
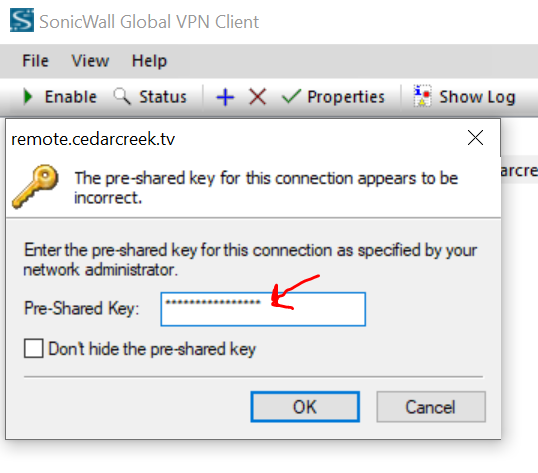
10) When you run the software, if you selected the box on the previous step to auto connect, it will attempt to connect and realize it needs some info. Enter the Pre-Shared Key you were emailed when you requested your VPN access and press OK.
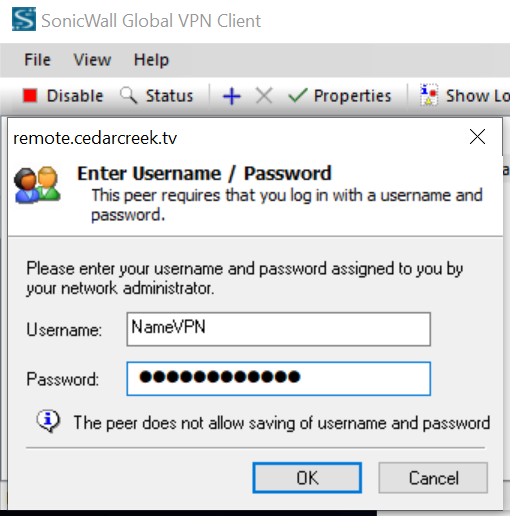
11) It will then ask for your Username and Password. Enter those credentials you were emailed as well and hit OK. IF THIS DOESN’T SHOW UP you may be on a slower connection and need to take an additional step. See the “For slow connections” section at the end of this article.
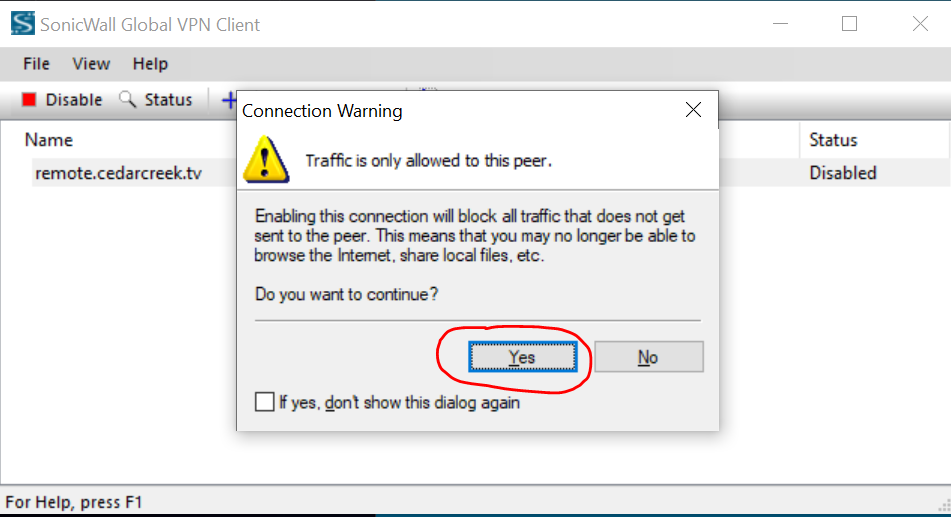
12) At this point a warning should pop up telling you that ALL TRAFFIC will now be routed through CedarCreek’s internet, not your home connection. This is the goal, so click “Yes” and if you want to, feel free to check the box to not show you that dialog again.
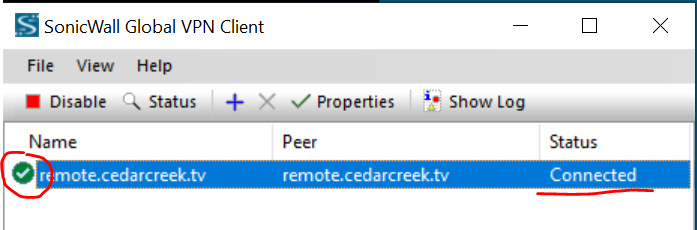
13) The software will now spin up and request an IP address from the VPN. It will settle with a green check mark and the word “Connected” if all goes as planned.
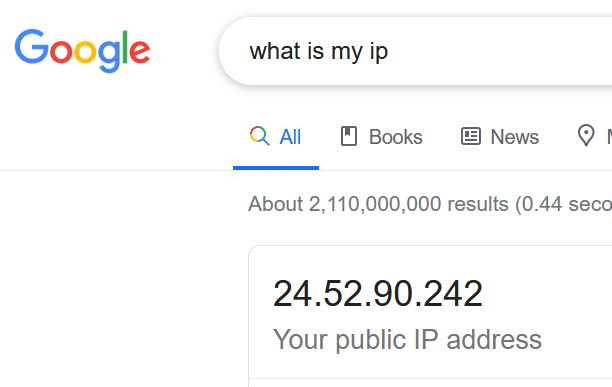
14) Optionally, to test your connection, open a browser and go to https://google.com and search for “What is my IP” and see if it shows the Creek’s IP address (24.52.90.242). If it does, you’re all good! Your computer is now routing network traffic over an encrypted connection to the CedarCreek network, just as if you were in the office on our local Wi-Fi network.
15) Shortcuts you may have to items at \\cedarcreek.local\creek\company or to your home folder \\cedarcreek.local\creek\home\UserN should work but will pop up and ask for credentials to connect. You’ll need to use your FULL EMAIL address (user@cedarcreek.tv) for the username and your email password. If you’d like to open a network folder such as the Company folder or your Home Folder and don’t have a shortcut to them, you can click on the Start menu, and start typing \\cedarcreek.local\creek\company and press enter. For your home folder, you can use \\cedarcreek.local\creek\home\UserN where UserN is your username. A prompt should show up after a few seconds asking for a username and password. Again, use your full email address (user@cedarcreek.tv) and your password.

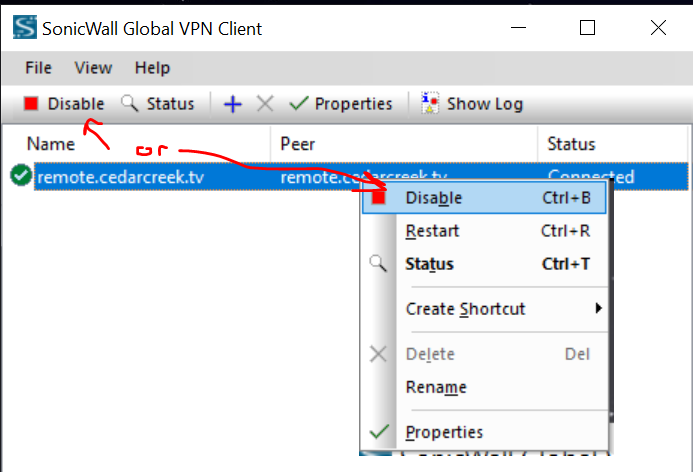
16) When you are ready to disconnect the VPN you have a few options. If the Client software is still open/visible, you can highlight the connection in the list and click “Disable” above it, or you can right click it and choose “Disable”. If you don’t have the client open, it should be running down by your clock on the bottom right. Right click it and choose “Disable” and then pick “remote.cedarcreek.tv” on the right. Once you disable the connection it may again take a few seconds (up to a minute) for your network settings to reconnect to your local internet provider.

For Slow Connections
If your connection attempt fails to ask for a name/password, you may need to do the following:
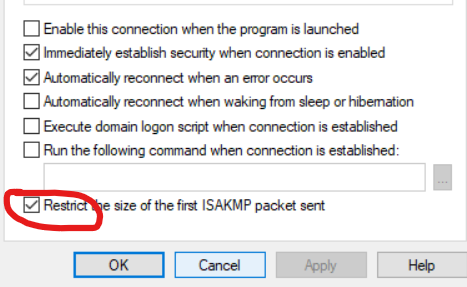
Choose “Disable” or “Cancel” on the connection attempt. Highlight your connection in the list and click “Properties” at the top.
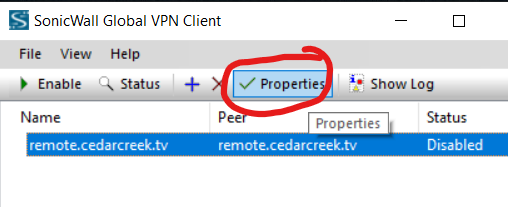
Check the box for “Restrict the size of the first ISAKMP packet sent” and press OK. Then try to “Enable” the connection again.