Building a new Content Item
With many staff now updating content channels for our Mobile App and website. We thought it would be a good idea to post a few quick instructions.
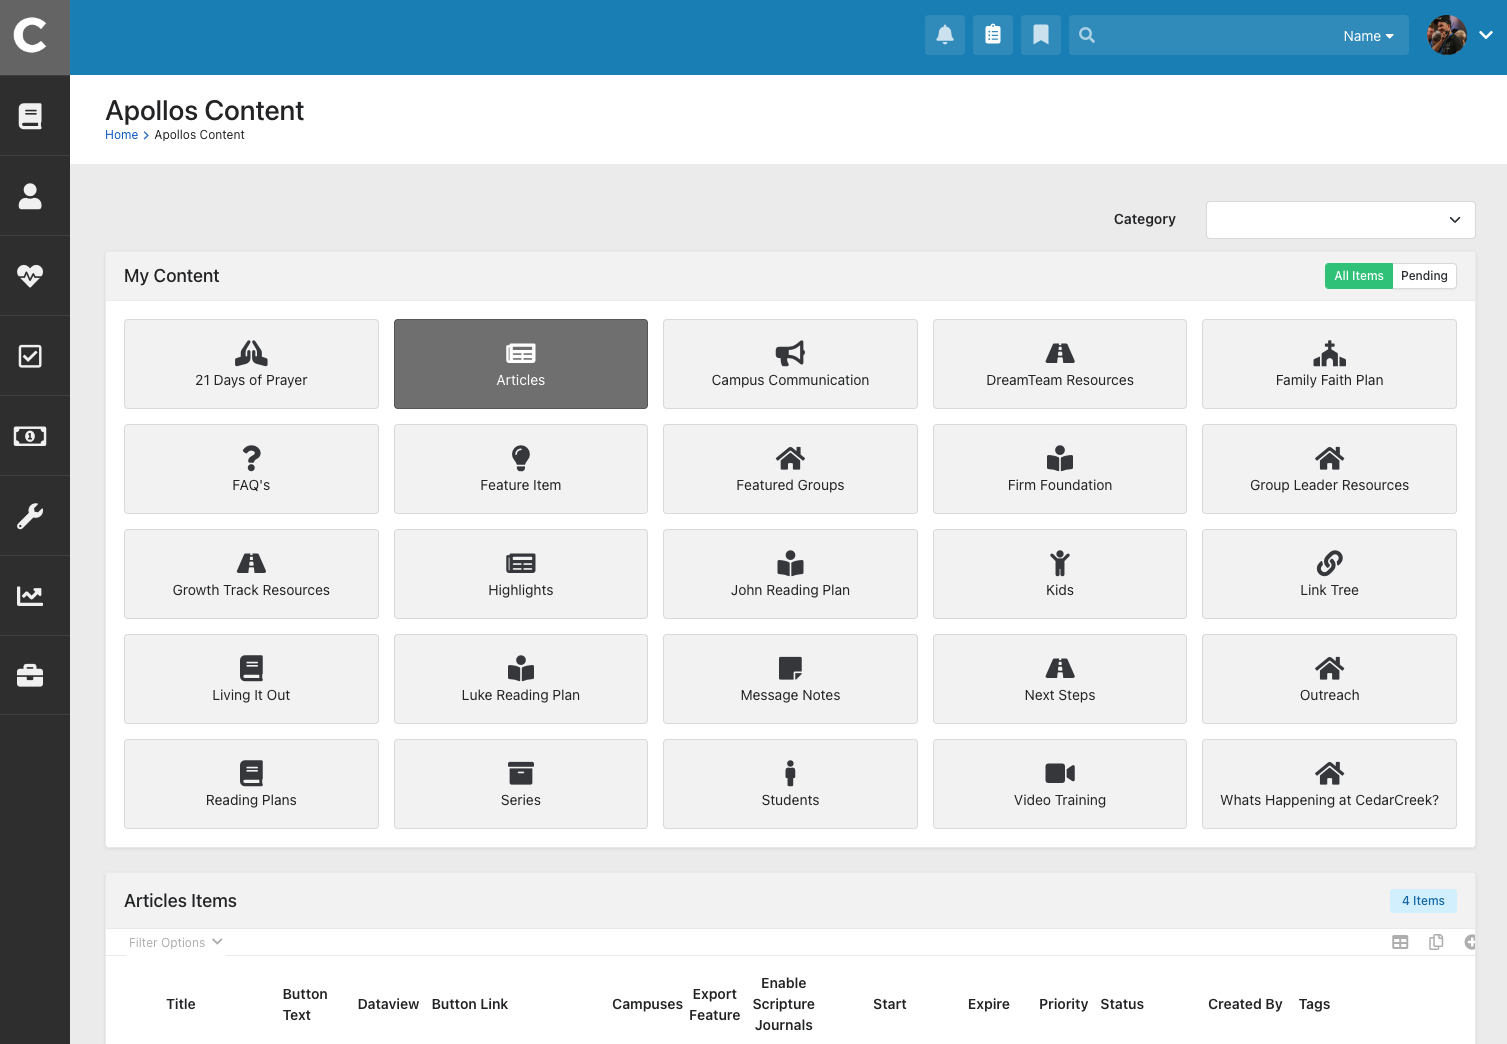
When you want to create a new content item, first select your content channel:
- RockRMS
- Tools
- Apollos Content
In the image below, we have selected ‘Articles’
After you select your content channel, scroll to the bottom of the page and click on an item you would like to edit, or click the [ + ] sign on the right hand side to add a new item. Below is an image of what the item screen looks like. We will walk through this screen together.

- Title: The title will show up before a user clicks on the item. The title will also appear after a user has clicked on the item.
- Start: Set the date/time you would like this item to be publicly available.
- Expire: Set the date/time you would like the item to disappear from being publicly avaailble.
- Priority: Set the priority of the item between 0 – 99. Items with higher priority will appear first on the app or website. Items with a lower priority will appear last on the app or website.
- Content: This is where the bulk of your content goes. Put everything here that you would like to be available for the guest. This content is only available after a user clicks into the item.
- Summary: This is a short body of text that appears on the item before a user clicks on the item.
- Image: This image is the header on the item before and after a user clicks on the item. This image should be 1920 x 1080.
- Button Text: If you would like a button on your page, Rock can display a singular button. This is where you type the text for that button.
- Button Link: This works in conjunction with the Button Link above. Be sure to put the link you would like the button to send someone to here.
- Video URL: If you would like a video to appear on your item after a user clicks into the item… you can insert a Sardius M3U8 link. This link can be gathered from a Project Manager
- Dataview: Only select a dataview here if you would like the item to be secured to only a specific list of people.
- Campuses: This is used specifically for ‘Campus Communication’ content channels. The campus should select their appropriate campus when building their item. This will allow the content to only be shown to those who attend their campus.
- Export Feature: By toggling this feature to ‘YES’ an export button will appear on the item. This export will allow someone to copy/paste the item into another application.
- Enable Scripture Journals: By toggling this feature to ‘YES’ an option will become available on that item for guests to publicly make a journal entry.
- YouTube URL: This should be used exclusively within the campus communication content channel. This will allow campus teams to place their YouTube Link within the item and it appear at the top of the item.