
Configuring Multi-Factor Authentication
Did you know that enabling MFA on your account can cut down the risk of being hacked/compromised by 99.9%? That’s a BIG deal. By default, we are requiring all of our users to configure MFA going forward.
Important: At any point if you get a pop-up asking for credentials OUTSIDE of what these photos show, hit cancel. This is your phone’s email trying to authenticate and you don’t have your authentication program setup completed. We will get back to that. Often this happens around step 2 or 3… So GO SLOW here and confirm each step matches what you see on the instructions or you could get lost in the setup process. Also, if it asks if this app can send notifications, say YES!
To make this process simpler and avoid other programs trying to get you to login when we aren’t ready, close Outlook and Teams on your computer until we are ready to use them.
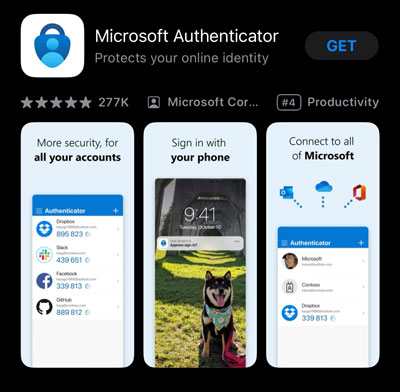
1) Start by using your phone to download the “Microsoft Authenticator” app from the Apple App Store or Google Play Store. Be careful to search for “Microsoft Authenticator” as we found searching with “the” in front of it doesn’t return the right results. You are looking for this image:
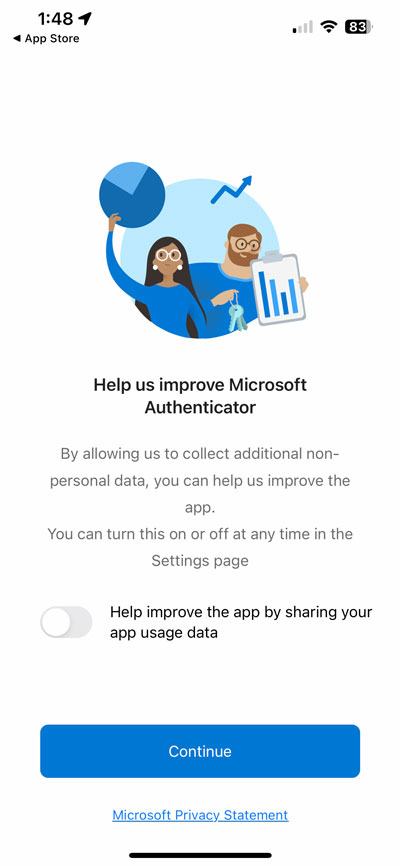
2) Once installed, click “accept” to the privacy notice and “continue” on the help us improve screen.

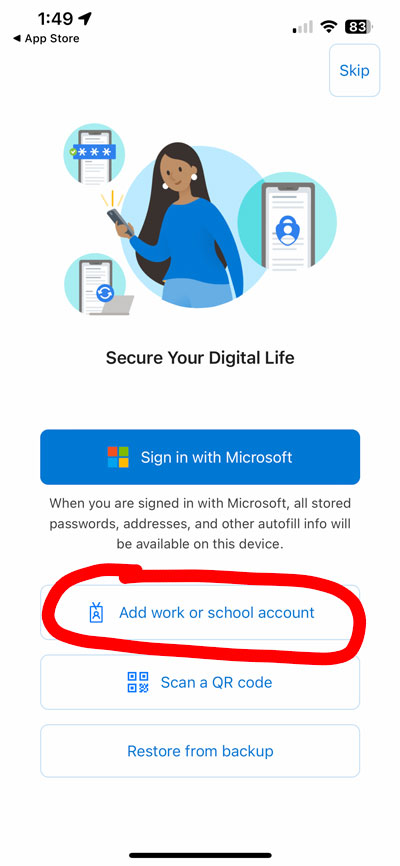
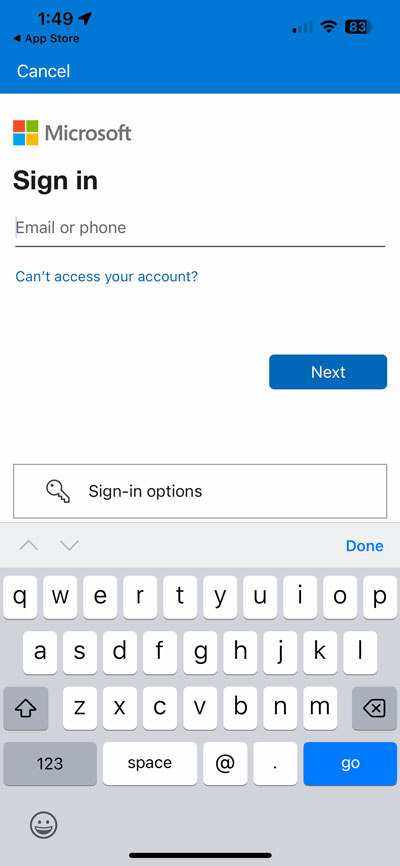
3) Click on “Add Work or School Account” and then sign in with your email and password.
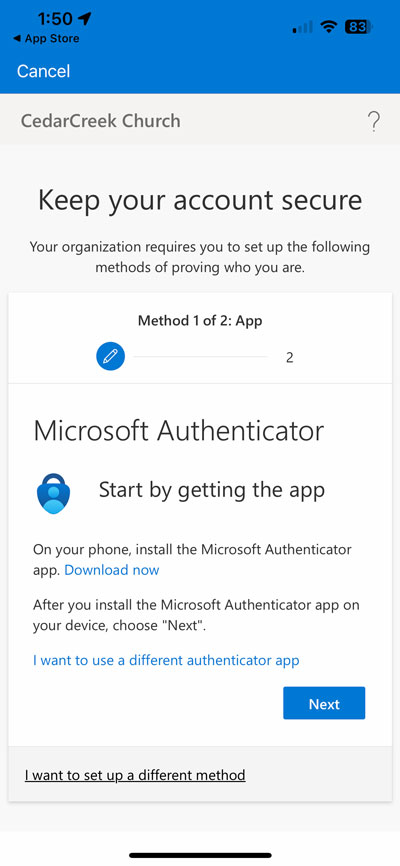
4) If you have previously set up some form of SMS text verification with Microsoft, it MAY send you a text message with a code to enter. Entering it will skip you to the end of step 8. If not, it will now say that “More Information is Required” and after you hit next, prompt you to get the app (funny, because you are IN the app) so hit “Next” and then choose the line of text above the next button that reads “Pair your account to the app by clicking this link.”

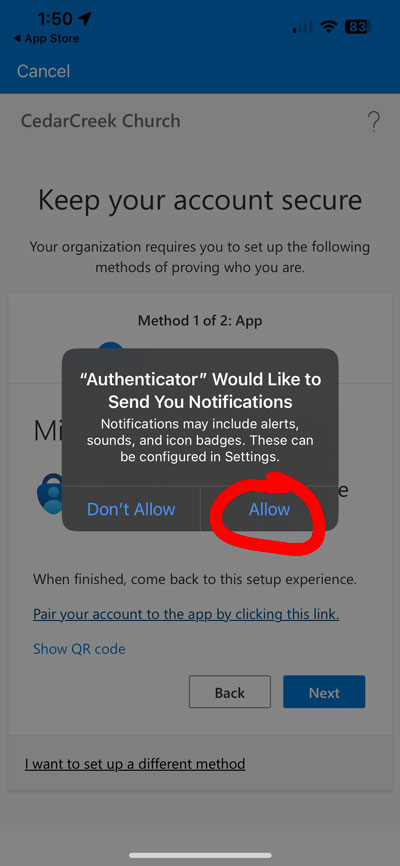
5) “Allow” the Authenticator app to send you notifications. Press “Next” after you hit Allow. If it throws an error, disregard and press Next anyway. The error tends to happen when you already have notifications enabled.
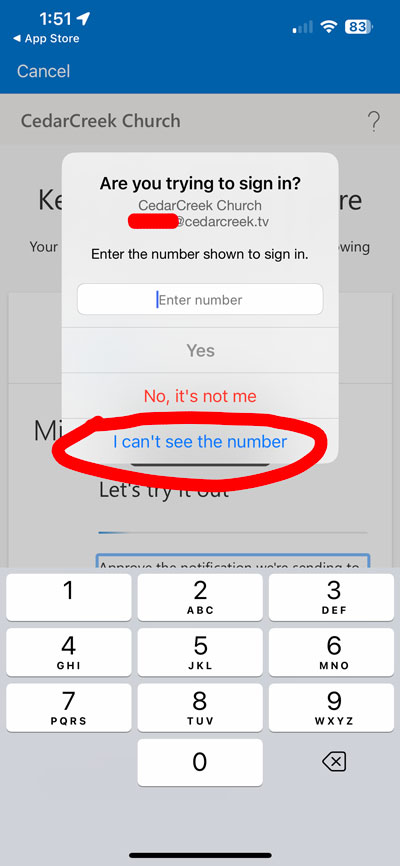
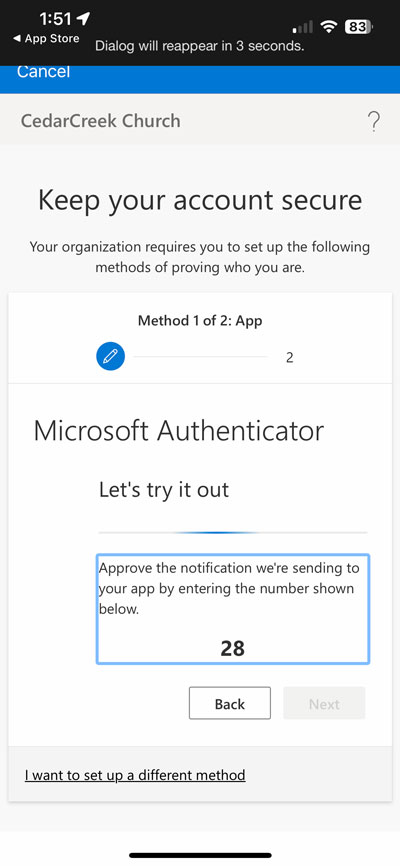
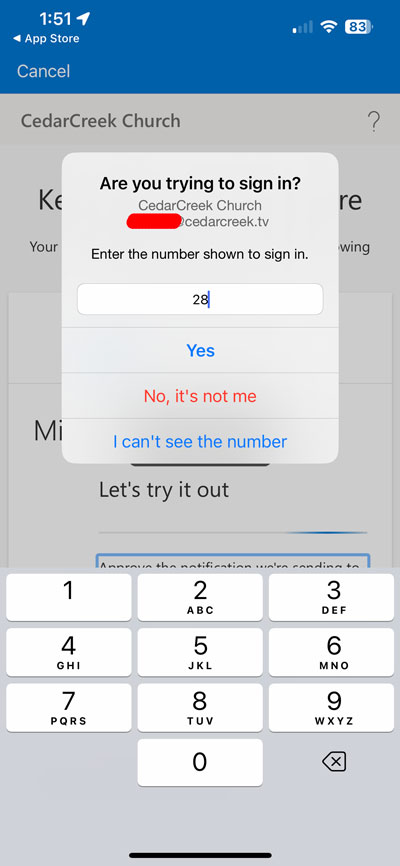
6) You’ll briefly see a number and then the keypad will cover it. If you didn’t see it, tap the “I can’t see the number” and the keypad will vanish for a few seconds. See the 2 digit number that was in bold behind it… and then type it in when the keypad returns and press “Yes” and then click “Next” on the confirmation message that appears.
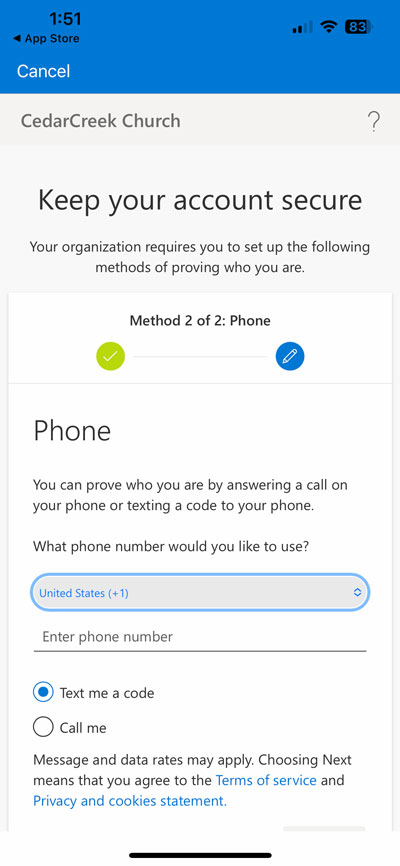
7) Now we are going to set up a backup method of authenticating in case this phone is lost or damaged. Enter your phone number and select “Text me a Code” and press Next. Enter the code you are sent and press Next again.


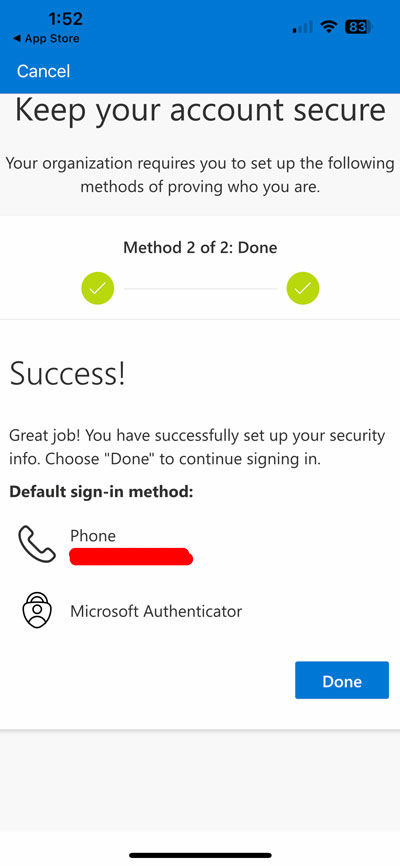
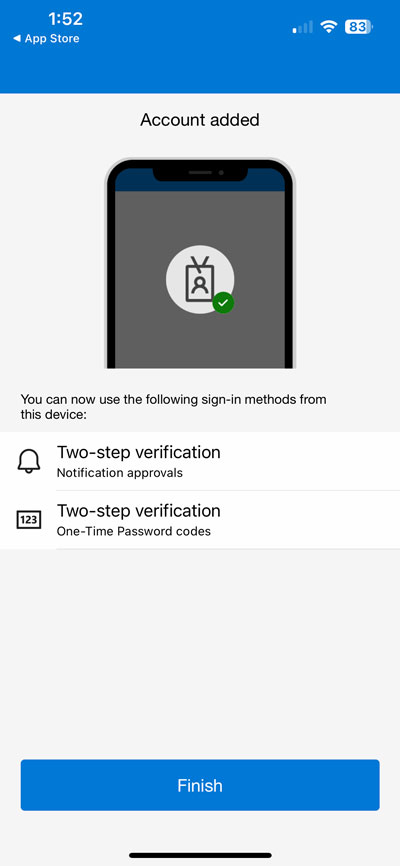
8) You should now see a “Success” message and see that you have 2 authentication methods available. Your phone and Microsoft Authenticator. Press Done and then press Finish.
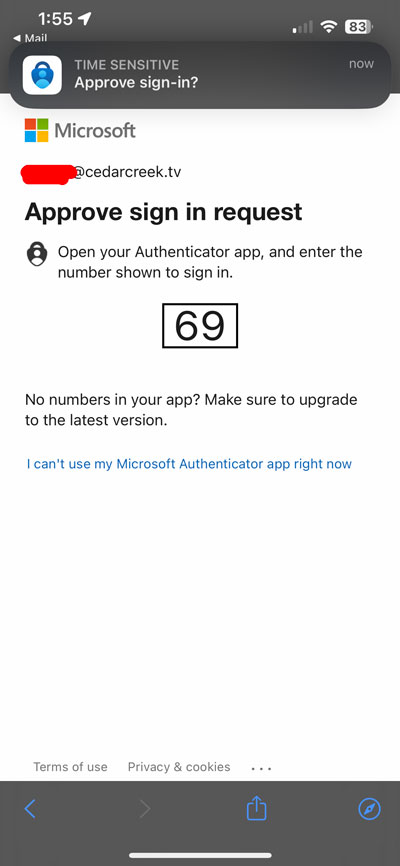
Now, the first time you open Outlook or Teams on your computer, it will prompt you to enter a number on the screen into your app. The app should notify you that a program is asking for a code and open for you. Enter the 2 digit code and hit “yes” and it will log you in. Note this is ONLY THE FIRST TIME on computer programs. It shouldn’t prompt for this every time you open Outlook or Teams. If you are using a Microsoft website (like OneDrive Online, Webmail, etc) that you normally enter an email and password into every time you visit, these sites will go through this multi-factor authentication process each time as well.
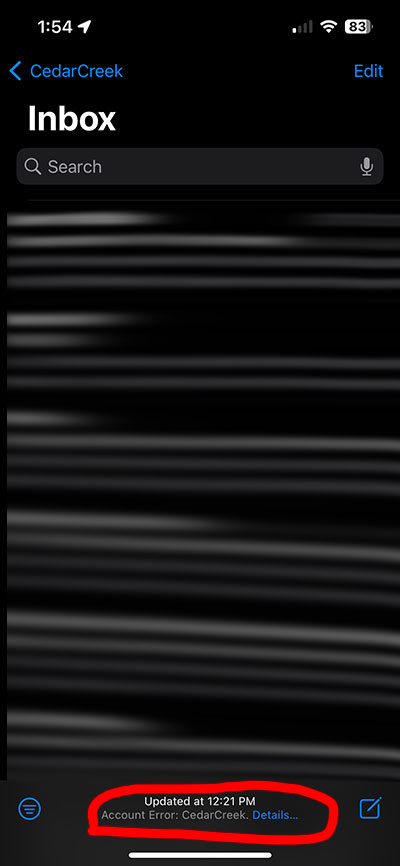
One other note, if you check your email in Apple Mail or a similar program, it may need you to re-login as well. If you look at Apple Mail on your phone for example, the bottom may say something like “Account Error: Exchange” or “Account Error: CedarCreek” with a Details link. Clicking Details will tell you to enter your password again.
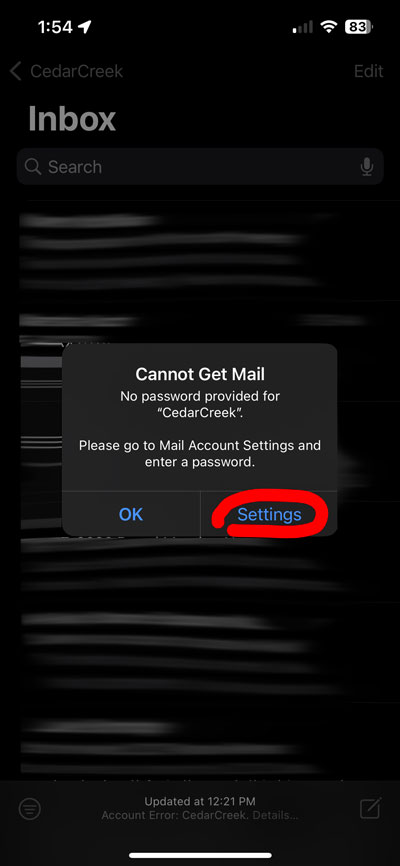
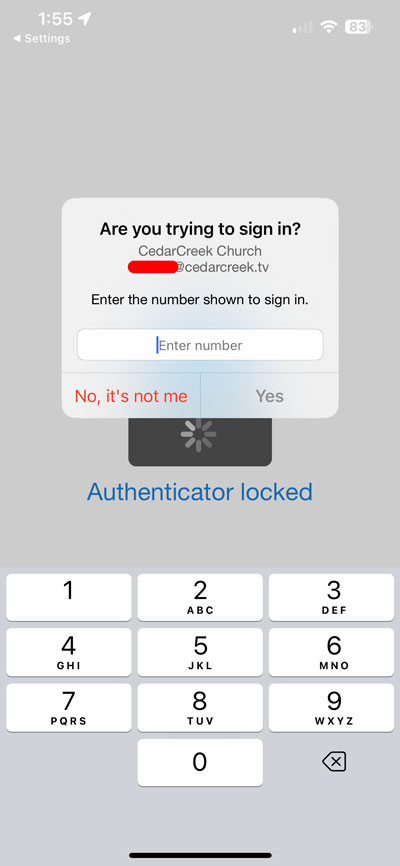
Clicking “Settings” will take you to the mail account settings where you can click “Re-enter Password” and after doing that, it will give you a two digit number for the Authenticator app. Switch to that app, enter the number and press Yes.

You may now have to force-close your Apple Mail program (slow drag up from the bottom of the screen to see the card view, then flick the mail program up and off the screen) and then re-launch your mail for it to connect with the new settings. You shouldn’t have to do this more than this one time setup.
If you need assistance getting this to work, feel free to ask.