The Apple Server is a great way to mange all of our Mac OS and IOS devices spread across all 6 campuses. Adding devices is an easy process, but there are a few steps involved. To ensure that each device enrollment goes as smooth as possible, we’ve put together a guide for you to follow along with
Transferring a device from the old server (StromTrooper) to the new server (Borg):
Unassign from the Old Server (StormTrooper):
- Visit https://business.apple.com and sign into your Apple Business Manager Account
- Click the Device Assignment tab on the left column
- Copy the serial number of the device that you are working on and paste it in the ‘Serial Number’ Box
- Choose the ‘Unassign’ Action and select the ‘StormTrooper’ Server
- Click Apply
- Visit macserver-01.cedarcreek.local and find the device under the ‘Devices’ tab
- Under ‘Restrictions’, enable the ‘Profiles’ option and save
- While you have your device selected, click [-] button in the device column and revert the device to a placeholder
Reassign to the New Server (Borg):
- Visit https://business.apple.com and sign into your Apple Business Manager Account
- Click the Device Assignment tab on the left column
- Copy the serial number of the device that you are working on and paste it in the ‘Serial Number’ Box
- Choose the ‘Assign’ Action and select the ‘Borg’ Server
- Click Apply
- Sign into your account at https://macserver.cedarcreek.tv and you should see your device under the ‘Devices’ tab listed as a placeholder
- If you do not see the device, click the refresh button with the device column.
Server Configuration:
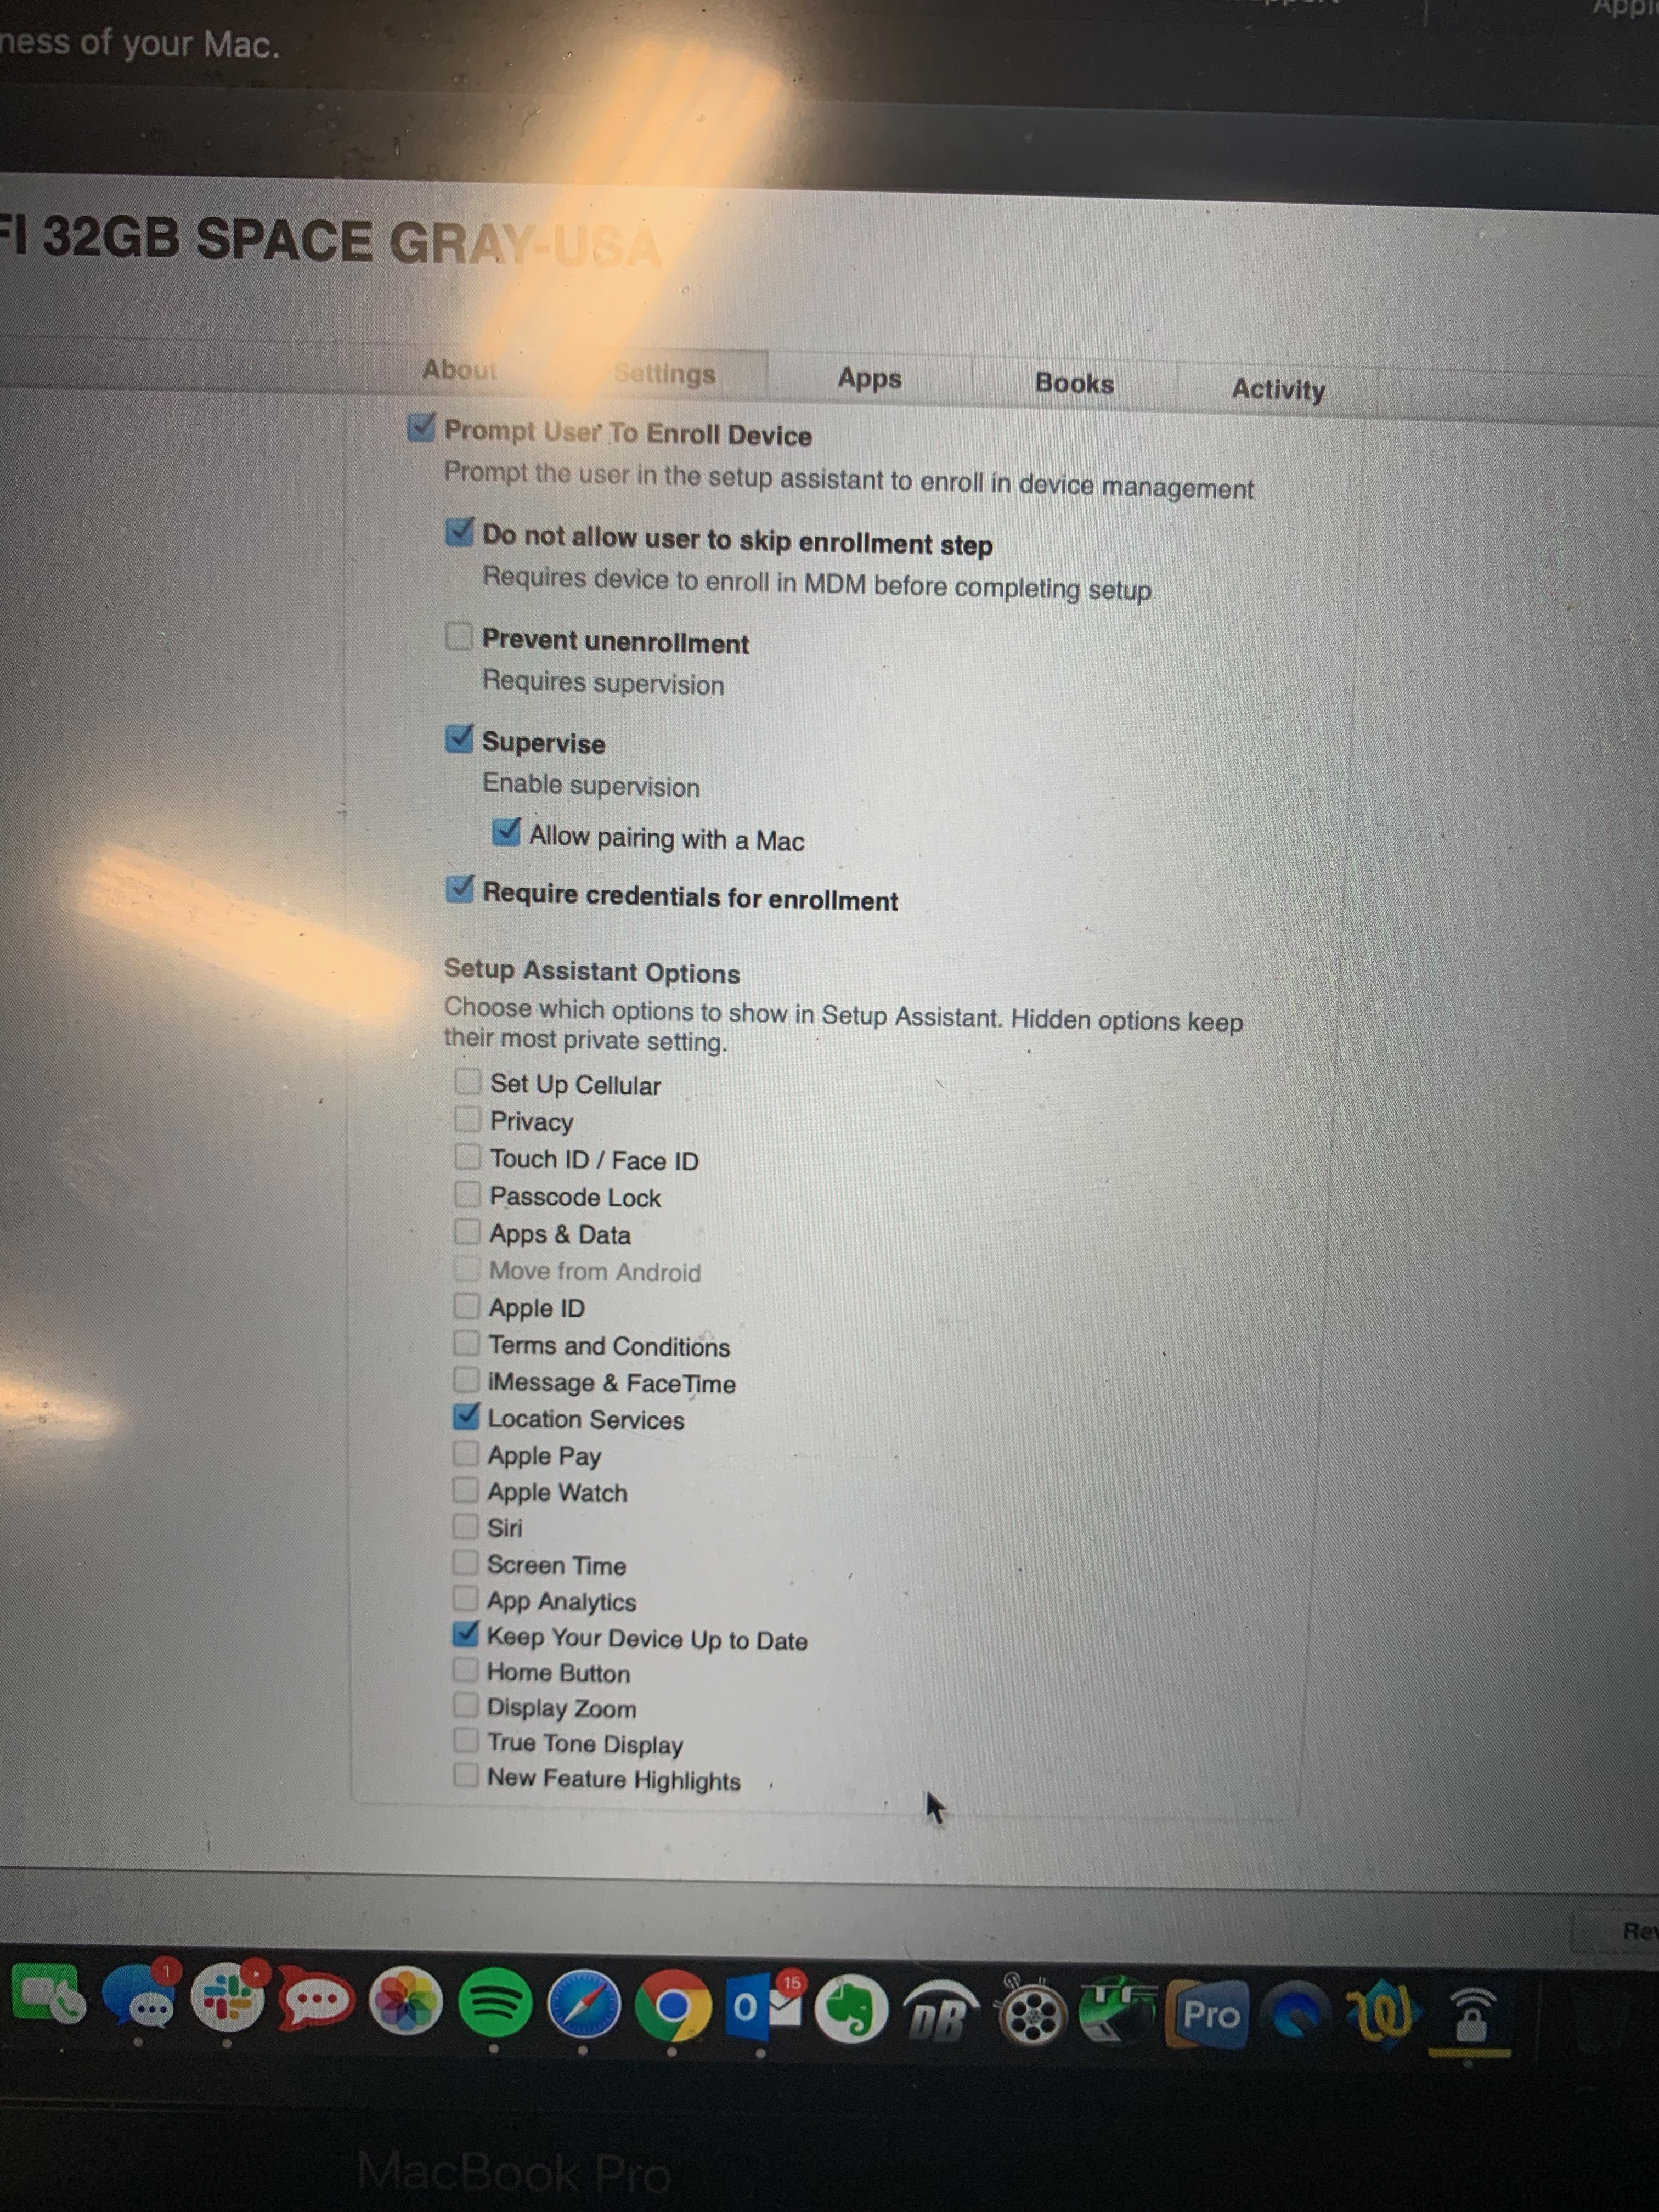
- Log into macserver.cedarcreek.tv and configure the appropriate settings on the server
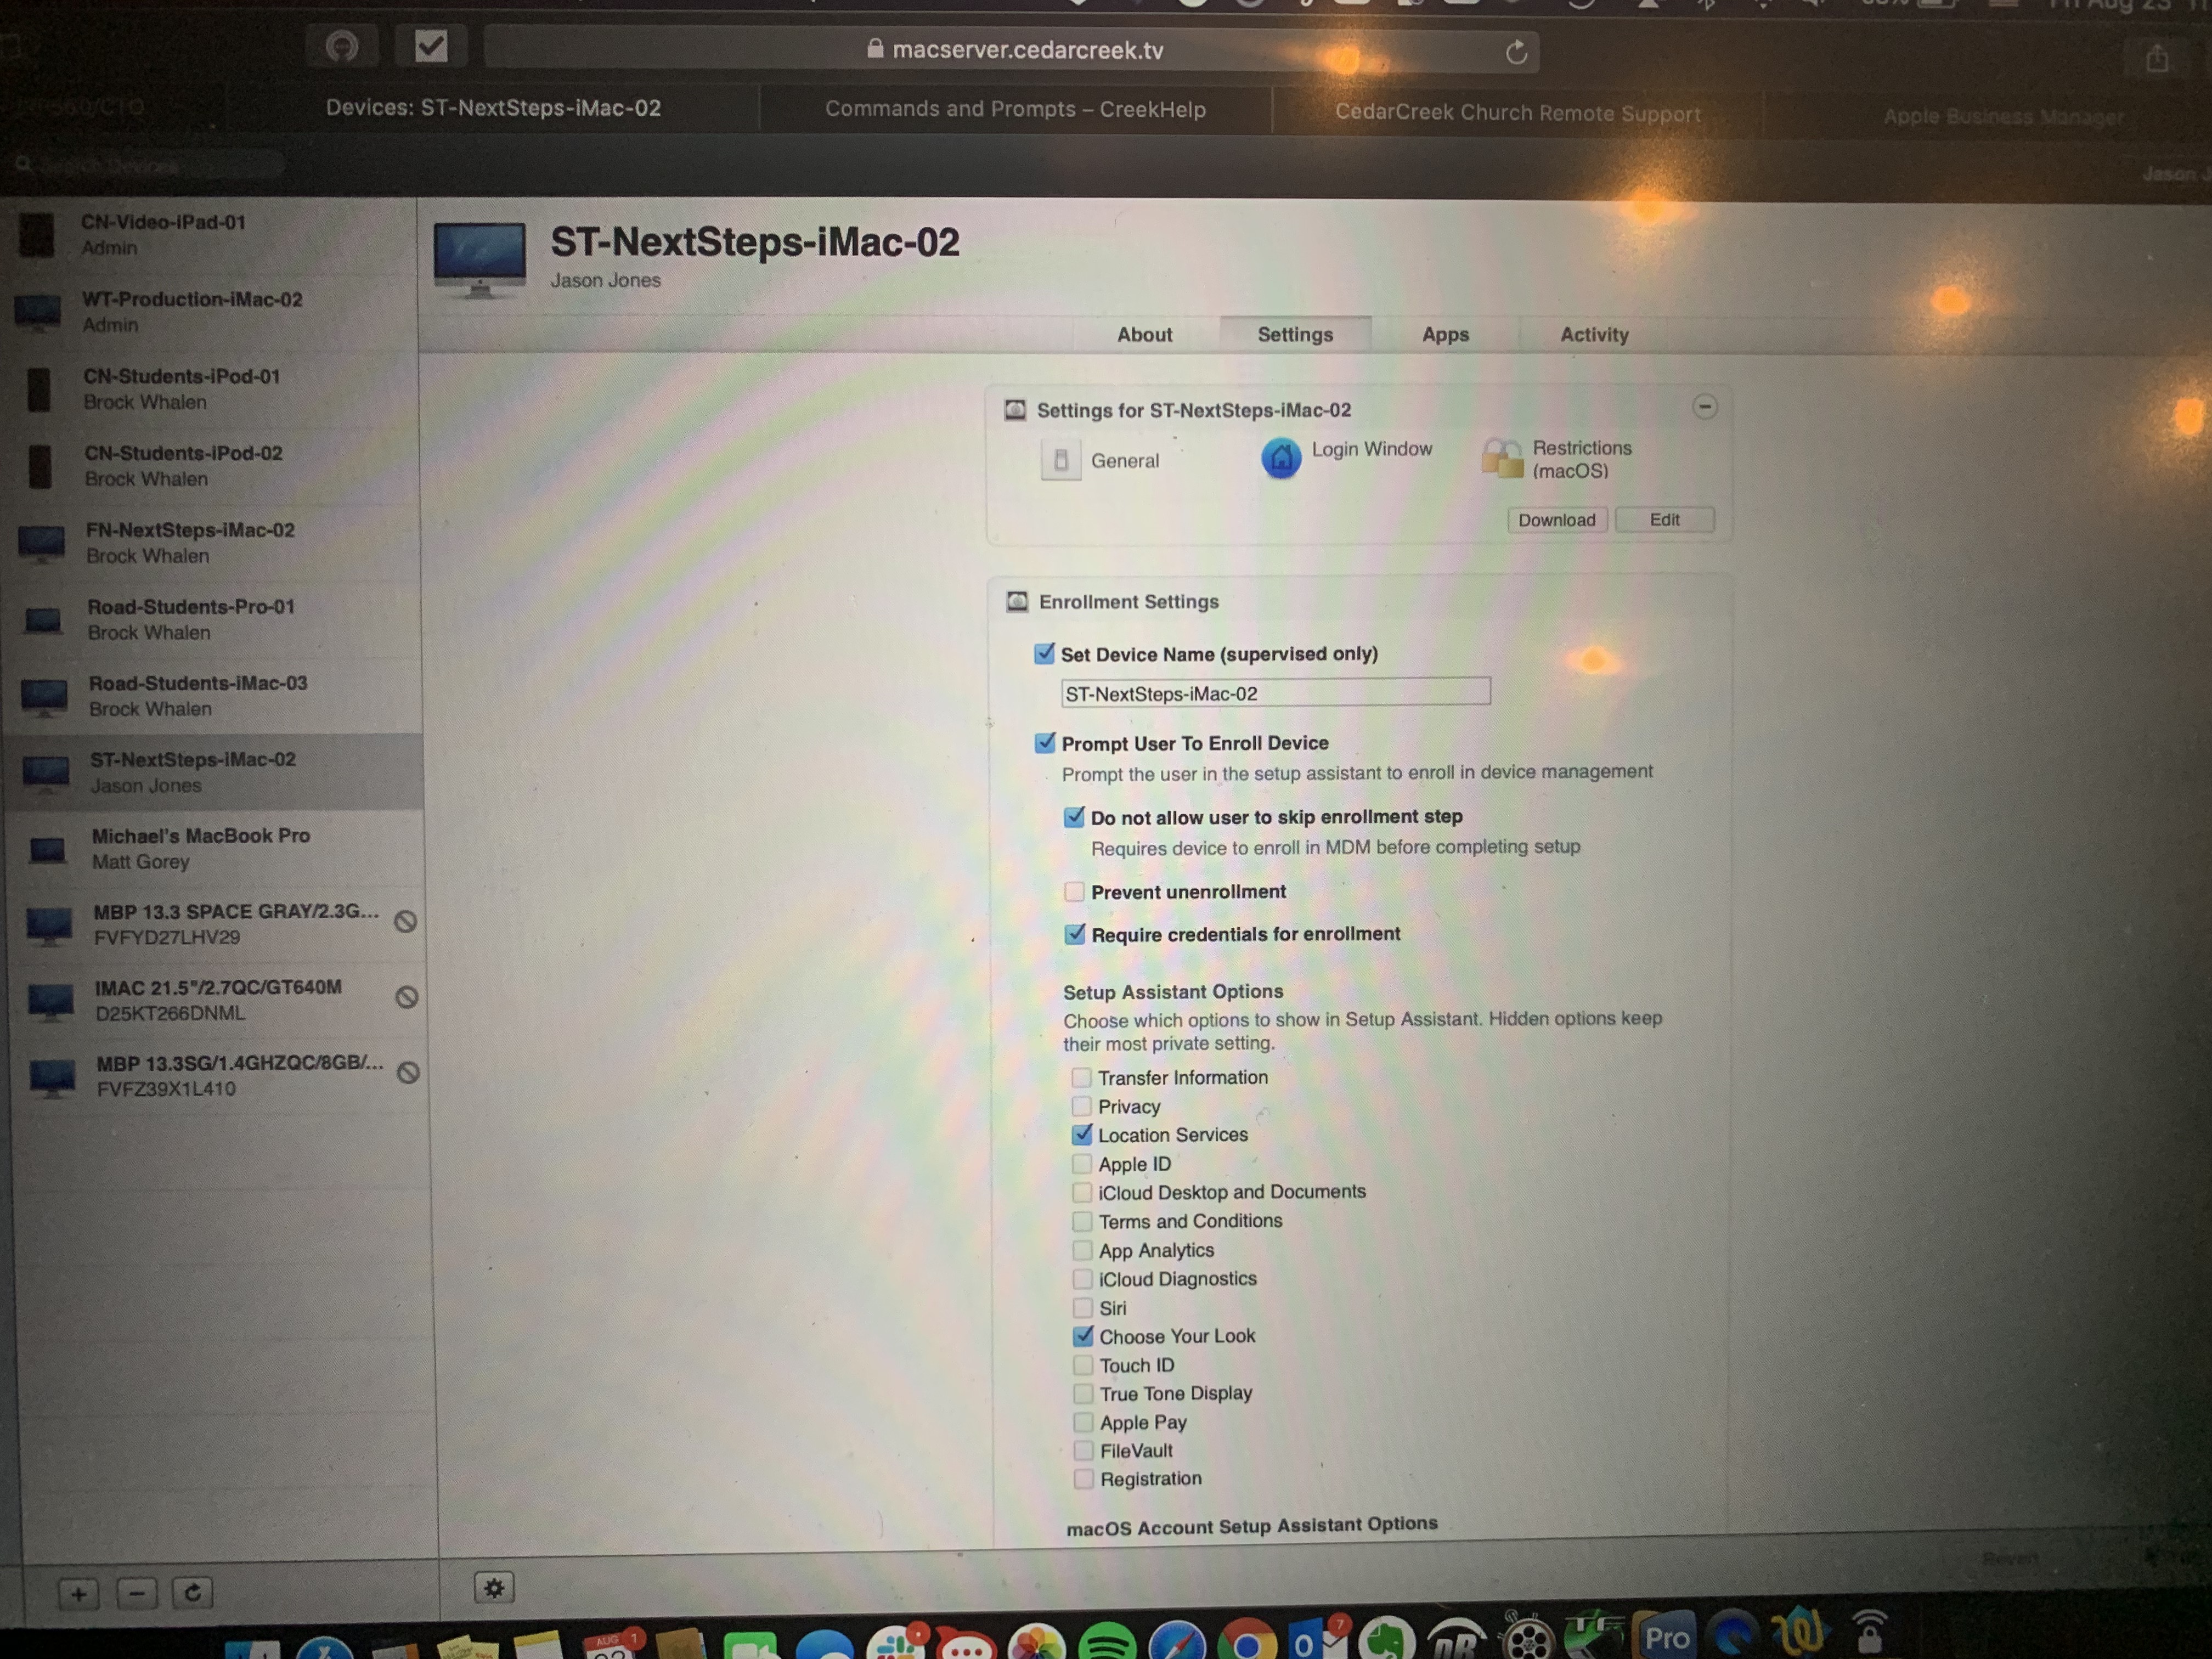
Mac OS Configuration (If NOT wiping the computer):
- Remove the old trust profile and configuration under the ‘Profiles’ setting on Mac OS devices
- Login and download the trust certificate from https://macserver.cedarcreek.tv/mydevices/
- Enroll the device and the enrollment process will begin
Mac OS Configuration (IF wiping the computer):
- Restart the computer and hold the Command+R keys until you are greeted with the Mac utility options
- Select disk utility
- Select the HD and erase it. Keep the standard formatting settings
- Back at the Mac utility options menu, select ‘Reinstall Mac OS’)
- After device reinstalls and reboots, computer should begin enrollment process
Ipad Configuration (MUST wipe device)
- Plug iPad into a computer and open iTunes
- Hold the power button and home button at the same time till the iPad restarts and shows a plug and iTunes logo on the screen
- Restore and update iPad
- After restore, the device should reboot and begin the enrollment process
Adding a device to the new server (Which wasn’t previously enrolled on the old server):
Assign Device to the Server (Borg):
- Visit https://business.apple.com and sign into your Apple Business Manager Account
- Click the Device Assignment tab on the left column
- Copy the serial number of the device that you are working on and paste it in the ‘Serial Number’ Box
- Choose the ‘Assign’ Action and select the ‘Borg’ Server
- Click Apply
- Sign into your account at https://macserver.cedarcreek.tv and you should see your device under the ‘Devices’ tab listed as a placeholder
- If you do not see the device, click the refresh button with the device column.
Server Configuration:
- Log into macserver.cedarcreek.tv and configure the appropriate settings on the server
Mac OS Configuration (If NOT wiping the computer):
- Remove the old trust profile and configuration under the ‘Profiles’ setting on Mac OS devices
- Login and download the trust certificate from https://macserver.cedarcreek.tv/mydevices/
- Enroll the device and the enrollment process will begin
Mac OS Configuration (IF wiping the computer):
- Restart the computer and hold the Command+R keys until you are greeted with the Mac utility options
- Select disk utility
- Select the HD and erase it. Keep the standard formatting settings
- Back at the Mac utility options menu, select ‘Reinstall Mac OS’)
- After device reinstalls and reboots, computer should begin enrollment process
Ipad Configuration (MUST wipe device)
- Plug iPad into a computer and open iTunes
- Hold the power button and home button at the same time till the iPad restarts and shows a plug and iTunes logo on the screen
- Restore and update iPad
- After restore, the device should reboot and begin the enrollment process
Adding a device purchased centrally from Apple through our purchase program:
- Log in to https://macserver.cedarcreek.tv and click on the ‘Devices’ tab
- Device should already be a placeholder
- Confirm serial number before proceeding
- Apply Settings
- Power on device and enrollment process should begin